Redux-like state container in SwiftUI. Connectors.
During the last year, I totally understood the power of a single source of truth and a state container that holds the whole app state in a single place. I’ve used this approach in a couple of my apps and continue to use it in new projects.
Compare designs, show rulers, add a grid, quick actions for recent builds. Create recordings with touches & audio, trim and export them into MP4 or GIF and share them anywhere using drag & drop. Add bezels to screenshots and videos. Try now
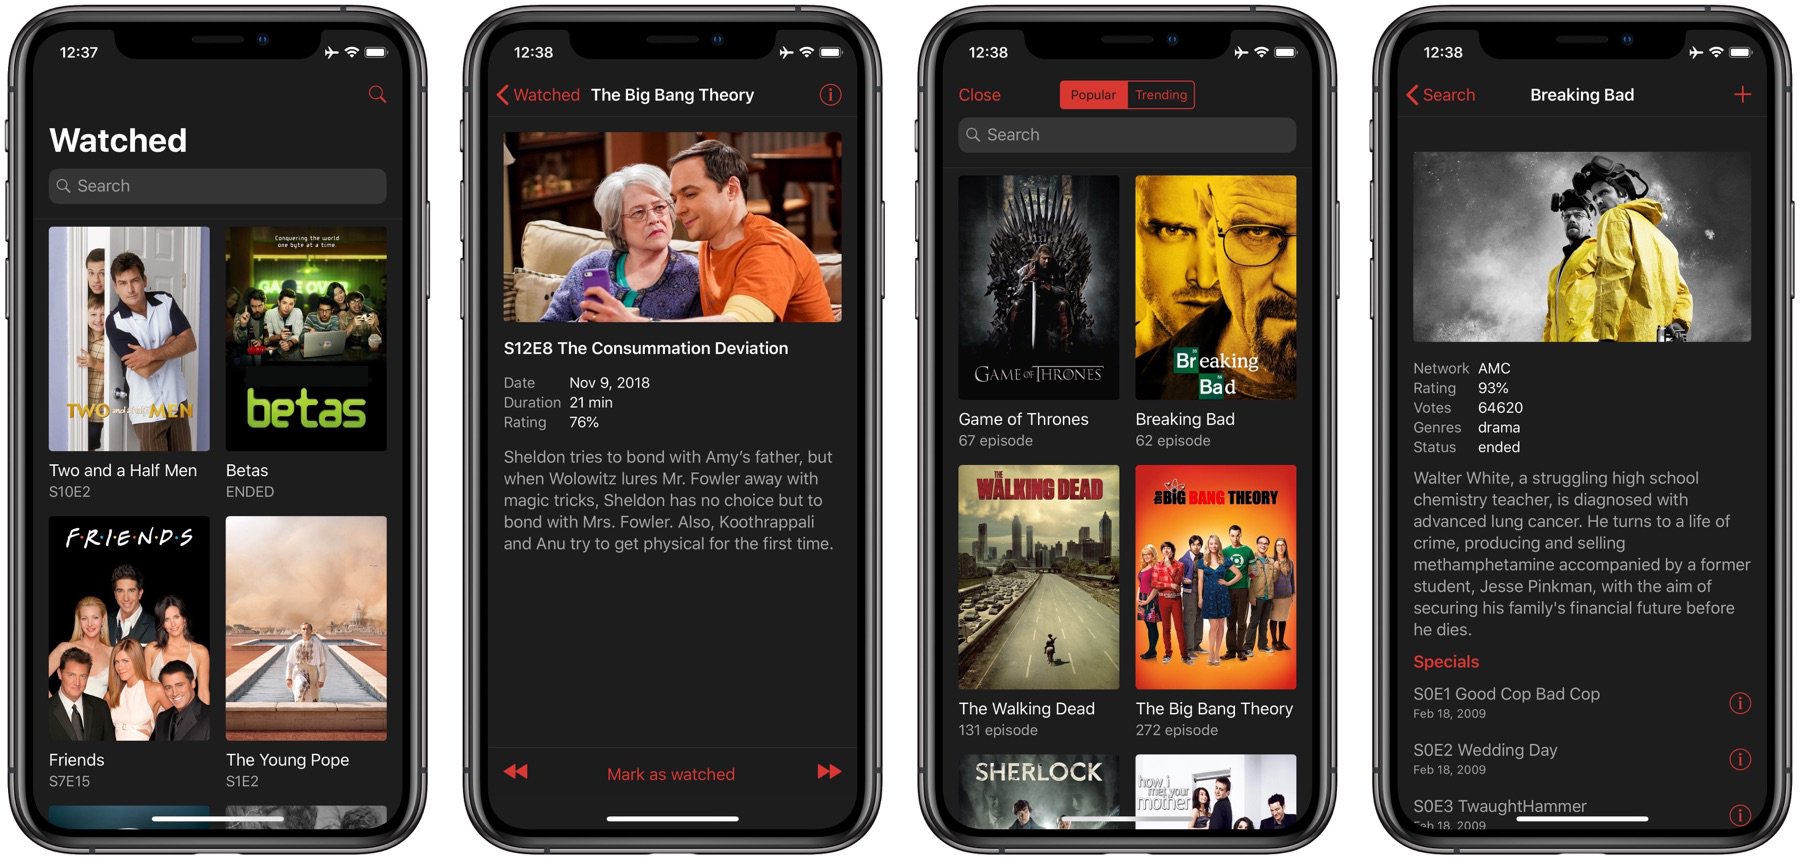
I’m rewriting my ShowBot app in SwiftUI using the single state container approach. I want to talk mainly about watched episodes history screen. This is how it looks now. Let’s try to build the first screen.
If you are not familiar with the concept of a single source of truth, take a look at my dedicated series of “Redux-like state container in SwiftUI” posts.
import Foundation

struct AppState: Equatable {
    var showsById: [Ids: Show] = [:]
    var seasons: [Ids: Season] = [:]
    var episodes: [Ids: Episode] = [:]
    var showImages: [Ids: FanartImages] = [:]
    var watchedHistory: [Ids] = []
}

enum AppAction: Equatable {
    case markAsWatched(episode: Ids, watched: Bool)
}

import SwiftUI
import KingfisherSwiftUI

struct HistoryView: View {
    @ObservedObject var store: Store<AppState, AppAction>

    var body: some View {
        LazyVGrid(columns: [.init(), .init()]) {
            ForEach(store.state.watchedHistory, id: \.self) { id in
                posterView(for: id)
            }
        }
    }

    private func posterView(for id: Ids) -> some View {
        let image = store.state.showImages[id]?.tvPosters?.first?.url
        let episode = store.state.episodes[id]
        let title = episode?.title ?? ""
        let date = episode?.firstAired ?? Date()

        return VStack {
            image.map {
                KFImage($0)
            }

            Text(title)
            Text(verbatim: DateFormatter.shortDate.string(for: date))
                .foregroundColor(.secondary)
                .font(.subheadline)
        }
    }
}
The main issue here is the formatting logic that lives inside the view. We can’t verify it using unit tests. Another problem is SwiftUI previews. We have to provide the entire store with the whole app state to render a single screen. And we can’t keep the view in a separated Swift Package because it depends on the whole app state.
We can improve the case a little bit by using derived stores that provide only the app state’s needed part. But we still need to keep the formatting logic somewhere outside of the view.
To learn more about derived stores, take a look at my “Redux-like state container in SwiftUI. Best practices.” post.
Let me introduce another component that lives in between the whole app store and the dedicated view. The primary responsibility of this component is the transformation of the app state to the view state. I call it Connector, and it is Redux inspired component.
protocol Connector {
    associatedtype State
    associatedtype Action
    associatedtype ViewState: Equatable
    associatedtype ViewAction: Equatable

    func connect(state: State) -> ViewState
    func connect(action: ViewAction) -> Action
}

extension Store {
    func connect<C: Connector>(
        using connector: C
    ) -> Store<C.ViewState, C.ViewAction> where C.State == State, C.Action == Action {
        derived(
            deriveState: connector.connect(state: ),
            embedAction: connector.connect(action: )
        )
    }
}
As you can see, Connector is a simple protocol that defines two functions. The first one transforms the whole app state into the view state, and the second one converts view actions into app actions. Let’s refactor our view by introducing view state and view actions.
extension HistoryView {
    struct State: Equatable {
        let posters: [Poster]

        struct Poster: Hashable {
            let ids: Ids
            let imageURL: URL?
            let title: String
            let subtitle: String
        }
    }

    enum Action: Equatable {
        case markAsWatched(episode: Ids)
    }

    typealias ViewModel = Store<State, Action>
}
We create an entirely different model for our view that holds the only needed data. The view state here is a direct mapping of the view representation and its model. The view action enum is the only action that available for this particular view. You eliminate the accidents where you call unrelated actions. Finally, your view is fully independent, which allows you to extract it into a separated Swift Package.
import KingfisherSwiftUI
import SwiftUI

struct HistoryView: View {
    @ObservedObject var viewModel: ViewModel

    var body: some View {
        LazyVGrid(columns: [.init(), .init()]) {
            ForEach(viewModel.state.posters, id: \.title) { poster in
                VStack {
                    poster.imageURL.map {
                        KFImage($0)
                    }
                    Text(poster.title)
                    Text(poster.subtitle)
                }.onTapGesture {
                    viewModel.send(.markAsWatched(episode: poster.ids))
                }
            }
        }
    }
}
Another benefit here is the super simple view. It doesn’t do anything. The view displays the formatted data and sends actions. You can quickly write as many SwiftUI previews as you need to cover all the different cases like loading, empty, etc.
extension Store {
    static func stub(with state: State) -> Store {
        Store(
            initialState: state,
            reducer: .init { _, _, _ in Empty().eraseToAnyPublisher() },
            environment: ()
        )
    }
}

struct HistoryView_Previews: PreviewProvider {
    static var previews: some View {
        HistoryView(
            viewModel: .stub(
                with: .init(
                    posters: [
                        .init(
                            ids: Ids(trakt: 1),
                            imageURL: URL(
                                staticString: "https://assets.fanart.tv/fanart/tv/280619/tvposter/the-expanse-5d34ade5abdfd.jpg"
                            ),
                            title: "The Expanse",
                            subtitle: "Sci-fi show"
                        )
                    ]
                )
            )
        )
    }
}
It’s time to create the particular connector type, which we will use to bind the app state to the view state.
enum Connectors {}

extension Connectors {
    struct WatchedHistoryConnector: Connector {
        func connect(state: AppState) -> HistoryView.State {
            .init(
                posters: state.watchedHistory.compactMap { ids in
                    let episode = state.episodes[ids]
                    return HistoryView.State.Poster(
                        ids: ids,
                        imageURL: state.showImages[ids]?.tvPosters?.first?.url,
                        title: episode?.title ?? "",
                        subtitle: DateFormatter.shortDate.string(for: episode?.firstAired) ?? ""
                    )
                }
            )
        }

        func connect(action: HistoryView.Action) -> AppAction {
            switch action {
            case let .markAsWatched(episode):
                return AppAction.markAsWatched(episode: episode, watched: true)
            }
        }
    }
}
As you can see in the example above, WatchedHistoryConnector is a simple value type that we can quickly test using unit testing. Now, we should take a look at how we can use our connector types. Usually, I have container or flow views that connect views to the store.
import SwiftUI

struct RootContainerView: View {
    @EnvironmentObject var store: Store<AppState, AppAction>

    var body: some View {
        HistoryView(
            viewModel: store.connect(using: Connectors.WatchedHistoryConnector())
        )
    }
}
To learn more about Container Views, take a look at “Introducing Container views in SwiftUI” post.
This week I’ve shared the approach that I use in my latest project. I love how it works and the possibility to improve my test coverage by introducing a simple value type. I hope you enjoy the post. Feel free to follow me on Twitter and ask your questions related to this article. Thanks for reading, and see you next week!
- Redux-like state container in SwiftUI. Basics
- Redux-like state container in SwiftUI. Best practices
- Redux-like state container in SwiftUI. Container Views.
- Redux-like state container in SwiftUI. Connectors.
- Redux-like state container in SwiftUI. Swift concurrency model.
References
The series of posts have built on a foundation of ideas started by other libraries, particularly Redux, Elm, and TCA.
- WWDC20 - Data Essentials in SwiftUI
- Redux - The JavaScript library that popularized unidirectional data flow.
- The Elm Architecture - A purely functional language and runtime that inspired the creation of Redux.
- The Composable Architecture - A library that bridges concepts from the Elm Architecture and Redux to Swift. It introduced the “environment” and “effect” patterns that this series covers.