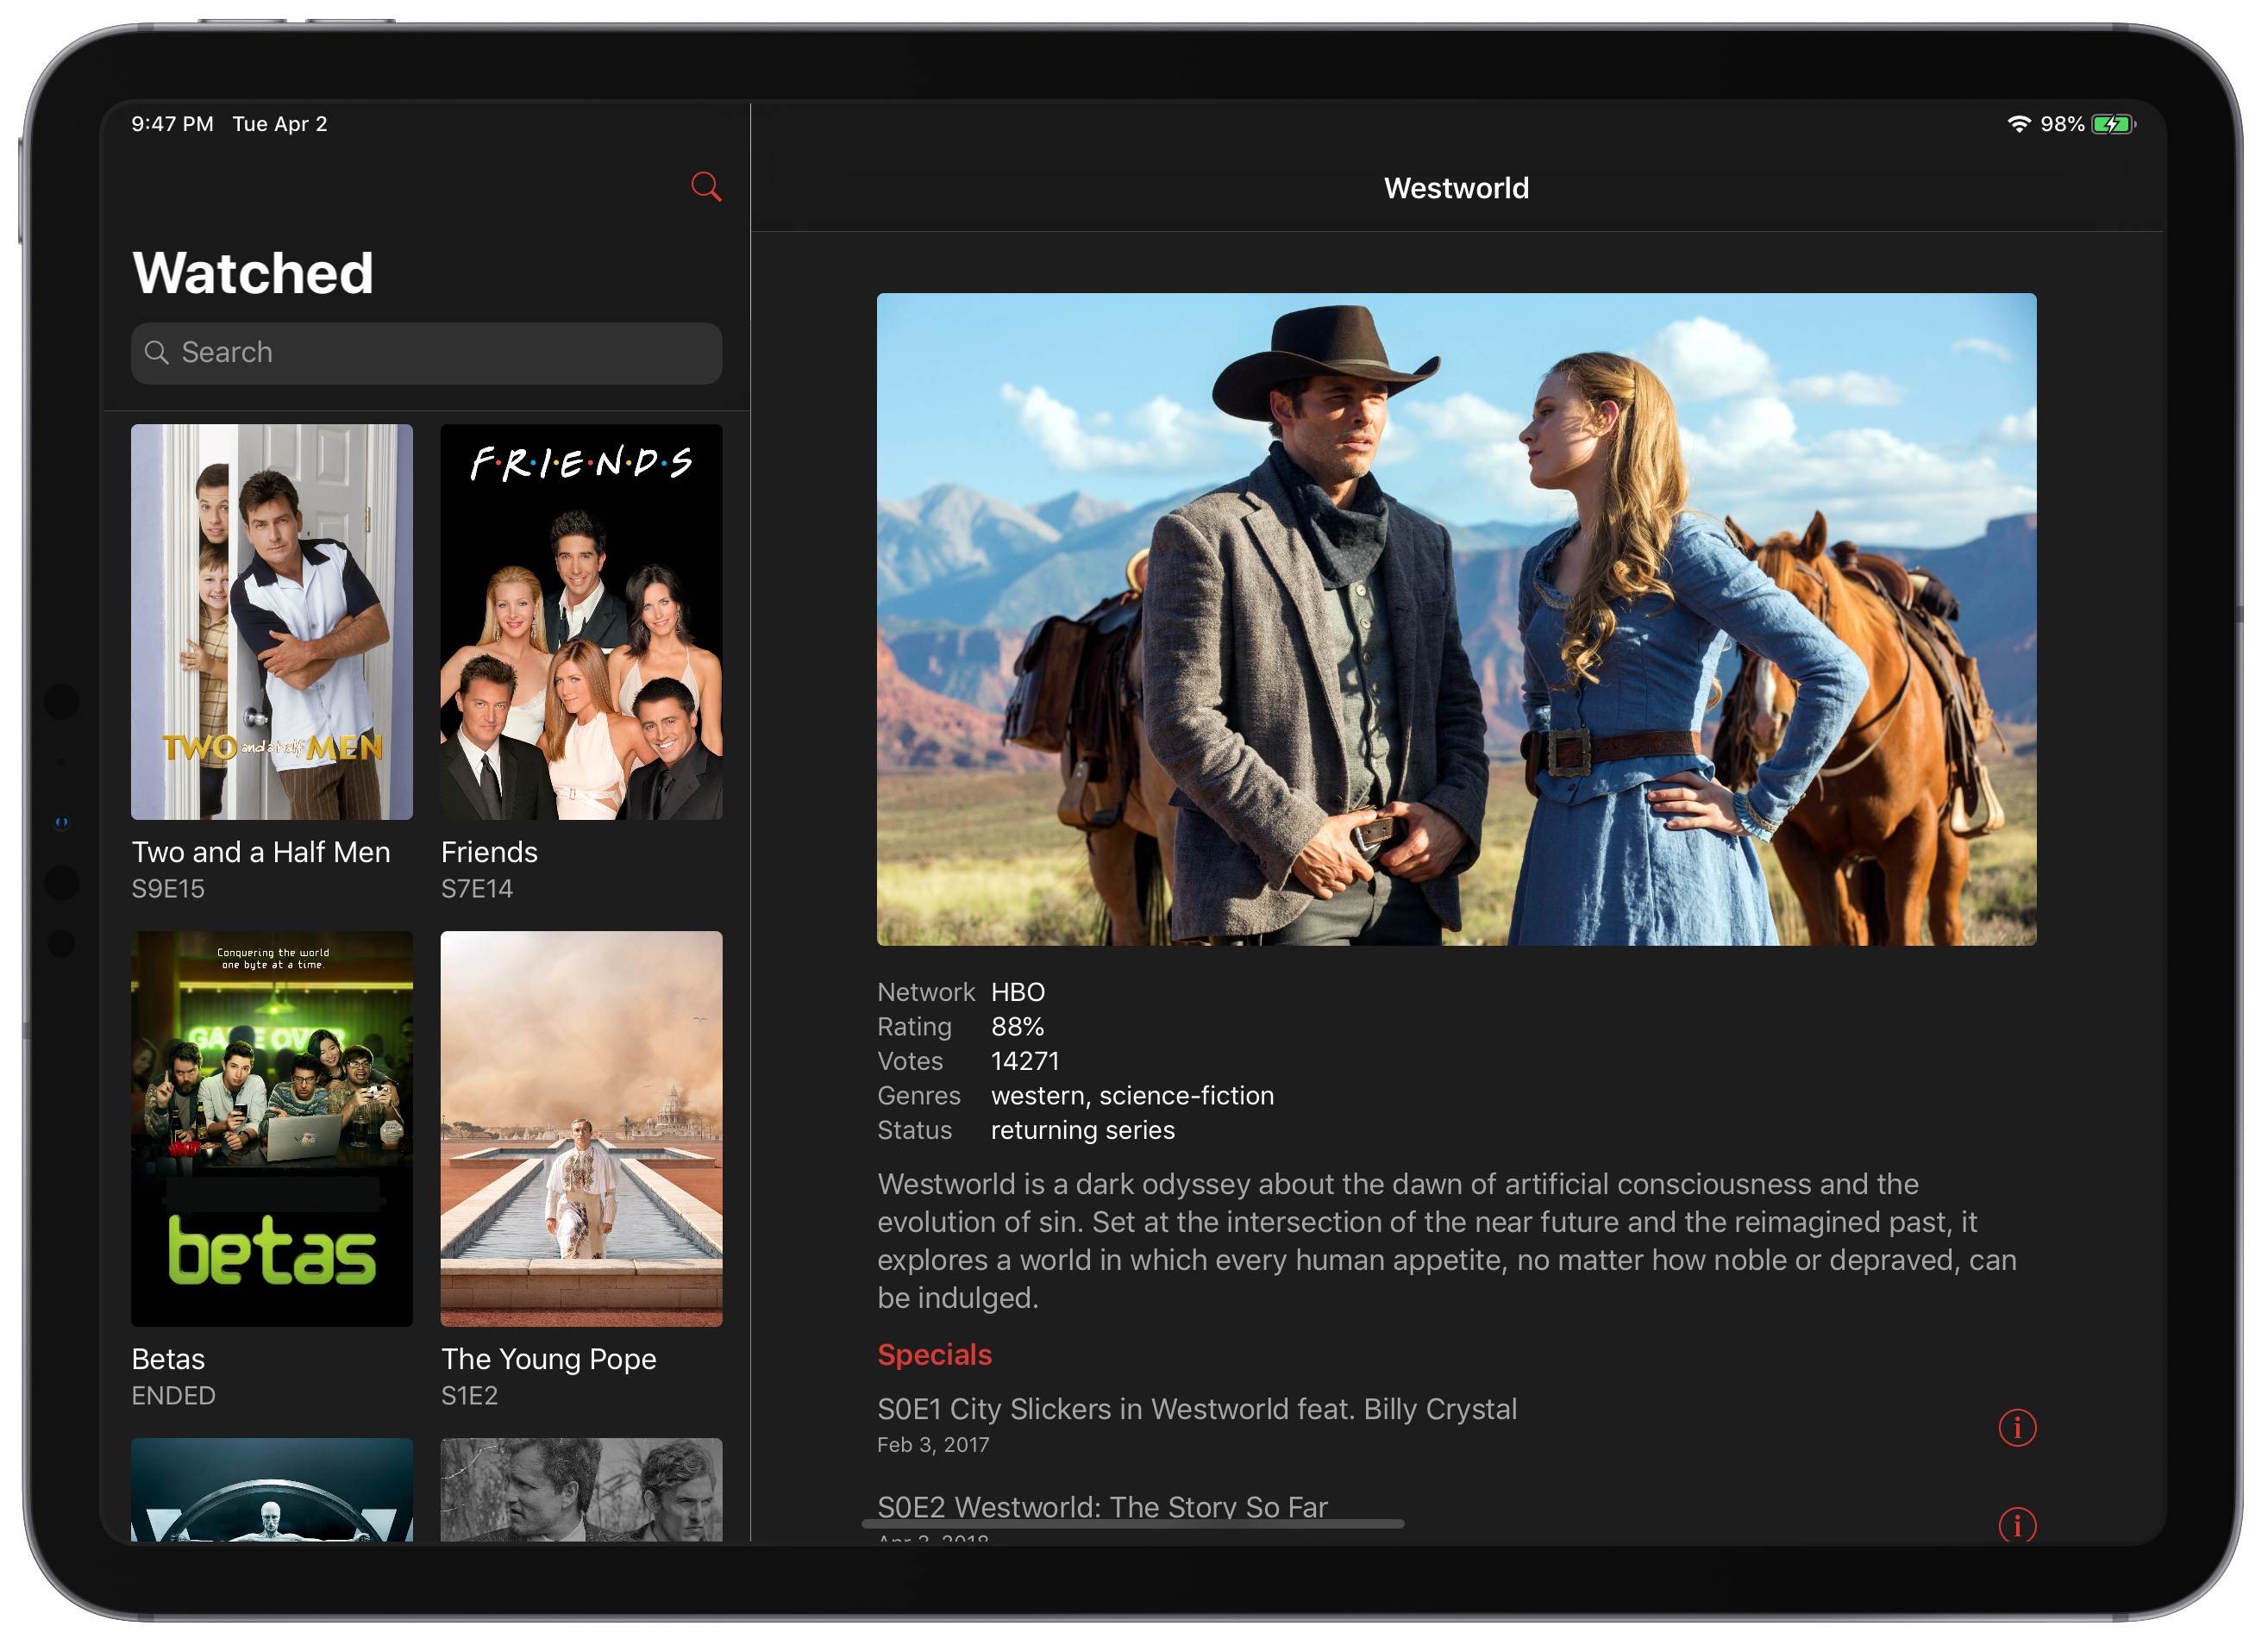
Adapting app for iPad with UISplitViewController
Apple promotes iPad as the primary computer for regular users. This trend is visible during the last couple of years. More and more users start to use iPad as the main device. I think it is essential to support iPad screens and efficiently use that space. This week we will talk about adapting apps for iPad with the help of UISplitViewController.
Compare designs, show rulers, add a grid, quick actions for recent builds. Create recordings with touches & audio, trim and export them into MP4 or GIF and share them anywhere using drag & drop. Add bezels to screenshots and videos. Try now
Adaptive presentation
As a part of iOS 9 SDK, Apple released an adaptive “show” method on UIViewController. We have to use this method to present another UIViewController, here is a quote from Apple Documentation which describes how it works:
You use this method to decouple the need to display a view controller from the process of actually presenting that view controller onscreen. Using this method, a view controller does not need to know whether it is embedded inside a navigation controller or split-view controller. It calls the same method for both. For example, a navigation controller overrides this method and uses it to push UIViewController onto its navigation stack.
This method uses the Responder Chain pattern to find the object which overrides the “show” method to run it. For example, the UINavigationController overrides “show” method and calls the “pushViewController” method. When your UIViewController wrapped in UINavigationController, the “show” will find UINavigationController’s “show” method in Responder Chain. In the case when there is no overridden “show” method, it presents UIViewController modally using root UIViewController.
UISplitViewController
Apple provides us with the UISplitViewController which uses the UIViewController containment feature to show UIViewControllers in Master-Details flow side-by-side. UISplitViewController uses adaptive “show” and “showDetailViewController” methods together with trait collection to understand when there is enough space to show UIViewControllers side-by-side or shows the master UIViewController only.
Let’s take a look at the UISplitViewController usage sample.
@UIApplicationMain
class AppDelegate: UIResponder, UIApplicationDelegate {
    var window: UIWindow?
    let splitViewController = UISplitViewController()

    func application(_ application: UIApplication, didFinishLaunchingWithOptions launchOptions: [UIApplication.LaunchOptionsKey: Any]?) -> Bool {
        let masterVC = MasterViewController()
        masterVC.delegate = self

        splitViewController.preferredDisplayMode = .automatic
        splitViewController.viewControllers = [
            UINavigationController(rootViewController: masterVC),
            UINavigationController(rootViewController: EmptyViewController())
        ]
        window = UIWindow(frame: UIScreen.main.bounds)
        window?.rootViewController = splitViewController
        window?.makeKeyAndVisible()
        return true
    }
}

extension AppDelegate: MasterDelegate {
    func start(_ show: Show) {
        let detailsVC = DetailsViewController(show: show)
        splitViewController.showDetailViewController(detailsVC, sender: self)
    }
}

extension AppDelegate: UISplitViewControllerDelegate {
    func splitViewController(_ splitViewController: UISplitViewController, collapseSecondary secondaryViewController: UIViewController, onto primaryViewController: UIViewController) -> Bool {
        return true
    }
}
Apple recommends using UISplitViewController as window’s root ViewController. By passing an array with two UIViewController, we set Master-Details flow. You can use the “show” method to present UIViewController in the Master part of UISplitViewController or “showDetailViewController” to present in Details part. When you are running UISplitViewController on iPhone, there is not enough space and it collapse Details controller. In this case, “showDetailViewController” method works as the “show” method and present UIViewController in the master part.
The UISplitViewController has several configuration properties like “preferredPrimaryColumnWidthFraction” and “maximumPrimaryColumnWidth” which give us opportunity to setup needed presentation. Another interesting property here is “preferredDisplayMode” field. It has several options like allVisible, primaryOverlay, primaryHidden and automatic. By using this property, you recommend display mode to UISplitViewController, but it can ignore it in the case when there is not enough space.

UISplitViewController has a UISplitViewControllerDelegate field, where you can set your own delegate object. By using a delegate object, you can override some default behaviors of UISplitViewControllers. For example, you can replace “show” and “showDetailViewController” methods implementation with your custom one, or implement “collapseSecondary” method where you can decide when you have to collapse or expand Details UIViewController.
Conclusion
This week we discuss how easily we can adapt our apps to iPad screens by efficiently using all the space. Try to adapt your app for iPad this week and feel free to contact me via Twitter in case of any problems. Thanks for reading and see you next week!