Mastering images in SwiftUI
This week I want to talk to you about another view component that we have in SwiftUI. Today we will deep dive into image view. Image view provides us a lot of nice features that we don’t have in UIImageView like rendering mode, resizing options, interpolation, etc.
Compare designs, show rulers, add a grid, quick actions for recent builds. Create recordings with touches & audio, trim and export them into MP4 or GIF and share them anywhere using drag & drop. Add bezels to screenshots and videos. Try now
Basics
As we usually do, let’s start with the basics. I’ve put an image in my asset catalog to show you some examples.
struct RootView: View {
    var body: some View {
        Image("carrot")
    }
}

We create an image by providing the name from the asset catalog. By default, the image view fits the source image. It means it has the size of its original bitmap. Let’s add the frame modifier to make our picture bigger.
struct RootView: View {
    var body: some View {
        Image("carrot")
            .border(Color.orange)
            .frame(width: 300, height: 300)
            .border(Color.blue)
    }
}
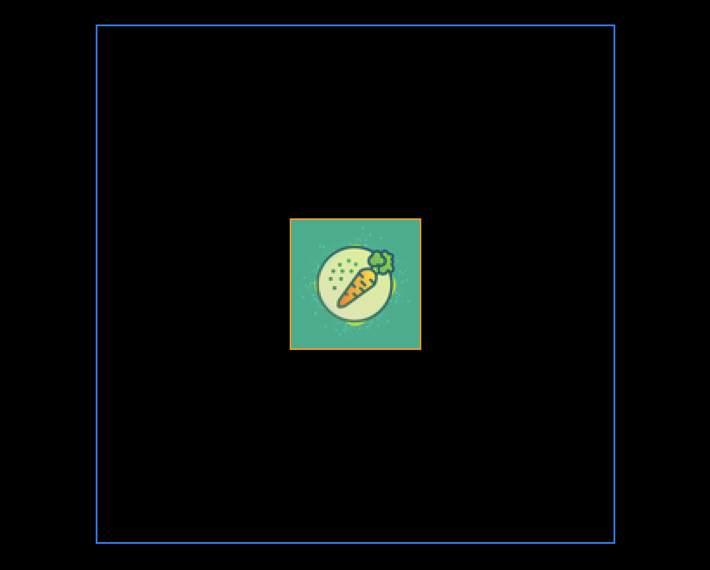
As you can see, the frame modifier doesn’t affect the size of our image. It happens because image by default chooses its size by measuring source bitmap. We can change this behavior by adding the resizable modifier to the image.
struct RootView: View {
    var body: some View {
        Image("carrot")
            .resizable()
    }
}

The resizable modifier tries to fill the entire available space with the image without saving aspect ratio. To fix this issue, we can use scaleToFit modifier.
struct RootView: View {
    var body: some View {
        Image("carrot")
            .resizable()
            .scaledToFit()
    }
}

Image interpolation
As we saw before, the image becomes a bit blurry when we try to resize it and fill the entire screen. It happens in the result of the interpolation process that SwiftUI applies to an image when stretching it.
When you stretch the image, SwiftUI replaces every pixel with the nearest pixel in the output. While upscaling, it means multiple pixels of the same color will be present. As a result, stretching introduces jaggedness. To solve the issue, SwiftUI uses blur to make the stretching process invisible. We can easily control the interpolation process by using the interpolation modifier on the image. For example, this is how we can completely disable it.
struct RootView: View {
    var body: some View {
        HStack {
            Image("carrot")
                .resizable()
                .scaledToFit()
            Image("carrot")
                .interpolation(.none)
                .resizable()
                .scaledToFit()
        }
    }
}

Tiled resizing
SwiftUI provides us two ways of image resizing. The first one is stretching, and we have already covered it. The second one is tiled resizing. Let’s take a quick look at the example of tiled resizing.
struct RootView: View {
    var body: some View {
        Image("carrot")
            .resizable(resizingMode: .tile)
            .edgesIgnoringSafeArea(.all)
    }
}
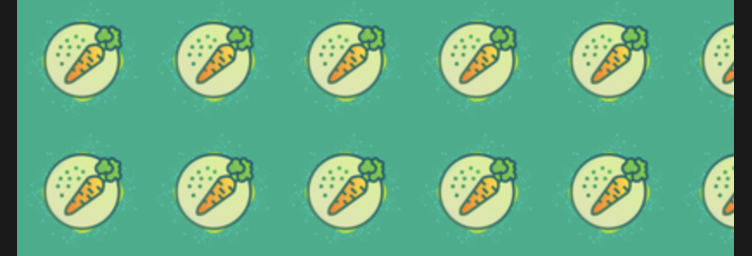
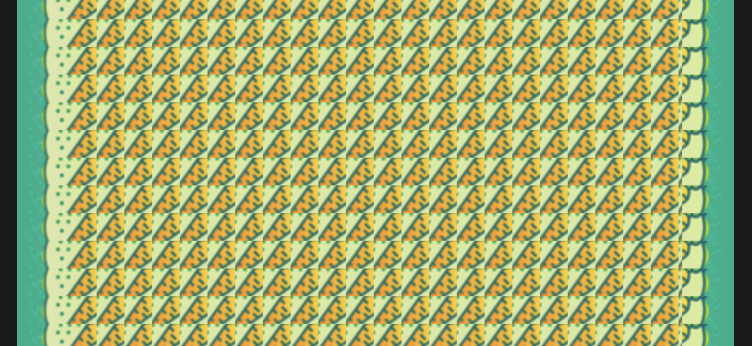
SwiftUI tries to fill the entire space with the image by duplicating its original source. It might be useful when you want to fill the area with the texture. You can also specify the part of the image that you want to tile. The resizable modifier accepts the capInsets parameter that allows us to choose the tiling part of the picture.
struct RootView: View {
    var body: some View {
        Image("carrot")
            .resizable(
                capInsets: .init(
                    top: 30,
                    leading: 30,
                    bottom: 30,
                    trailing: 30
                ),
                resizingMode: .tile
        )
    }
}
Rendering mode
SwiftUI provides us two ways of rendering an image. The first one is called the original. It tries to render the image as is without any additional visual effects. The second one is the template mode. In this case, SwiftUI will fill all the non-transparent pixels of your bitmap with the accent color. This mode is beneficial when you use SF Symbols as a button or navigation item icon, and you want to tint them using your branding color. We can change the rendering mode of the image by using renderingMode modifier.
struct RootView: View {
    var body: some View {
        Image("carrot")
            .renderingMode(.original)
    }
}
SwiftUI automatically sets the rendering mode to template whenever you use it inside a NavigationLink or NavigatioBarItem. Sometimes it is something that we don’t except, and we can use renderingMode modifier to change the default mode.
Conclusion
SwiftUI’s image component provides us a really cool set of features out of the box. I believe we cover today all the hidden gems of the image view. I hope you enjoy the post. Feel free to follow me on Twitter and ask your questions related to this post. Thanks for reading, and see you next week!