Lazy navigation in SwiftUI
Most of our apps are more than just a single screen app. We use the navigation to connect different screens inside the app. SwiftUI provides us NavigationLink struct that we can use to link views. This week we will learn how to use NavigationLink more efficiently than before by making it lazy.
Compare designs, show rulers, add a grid, quick actions for recent builds. Create recordings with touches & audio, trim and export them into MP4 or GIF and share them anywhere using drag & drop. Add bezels to screenshots and videos. Try now
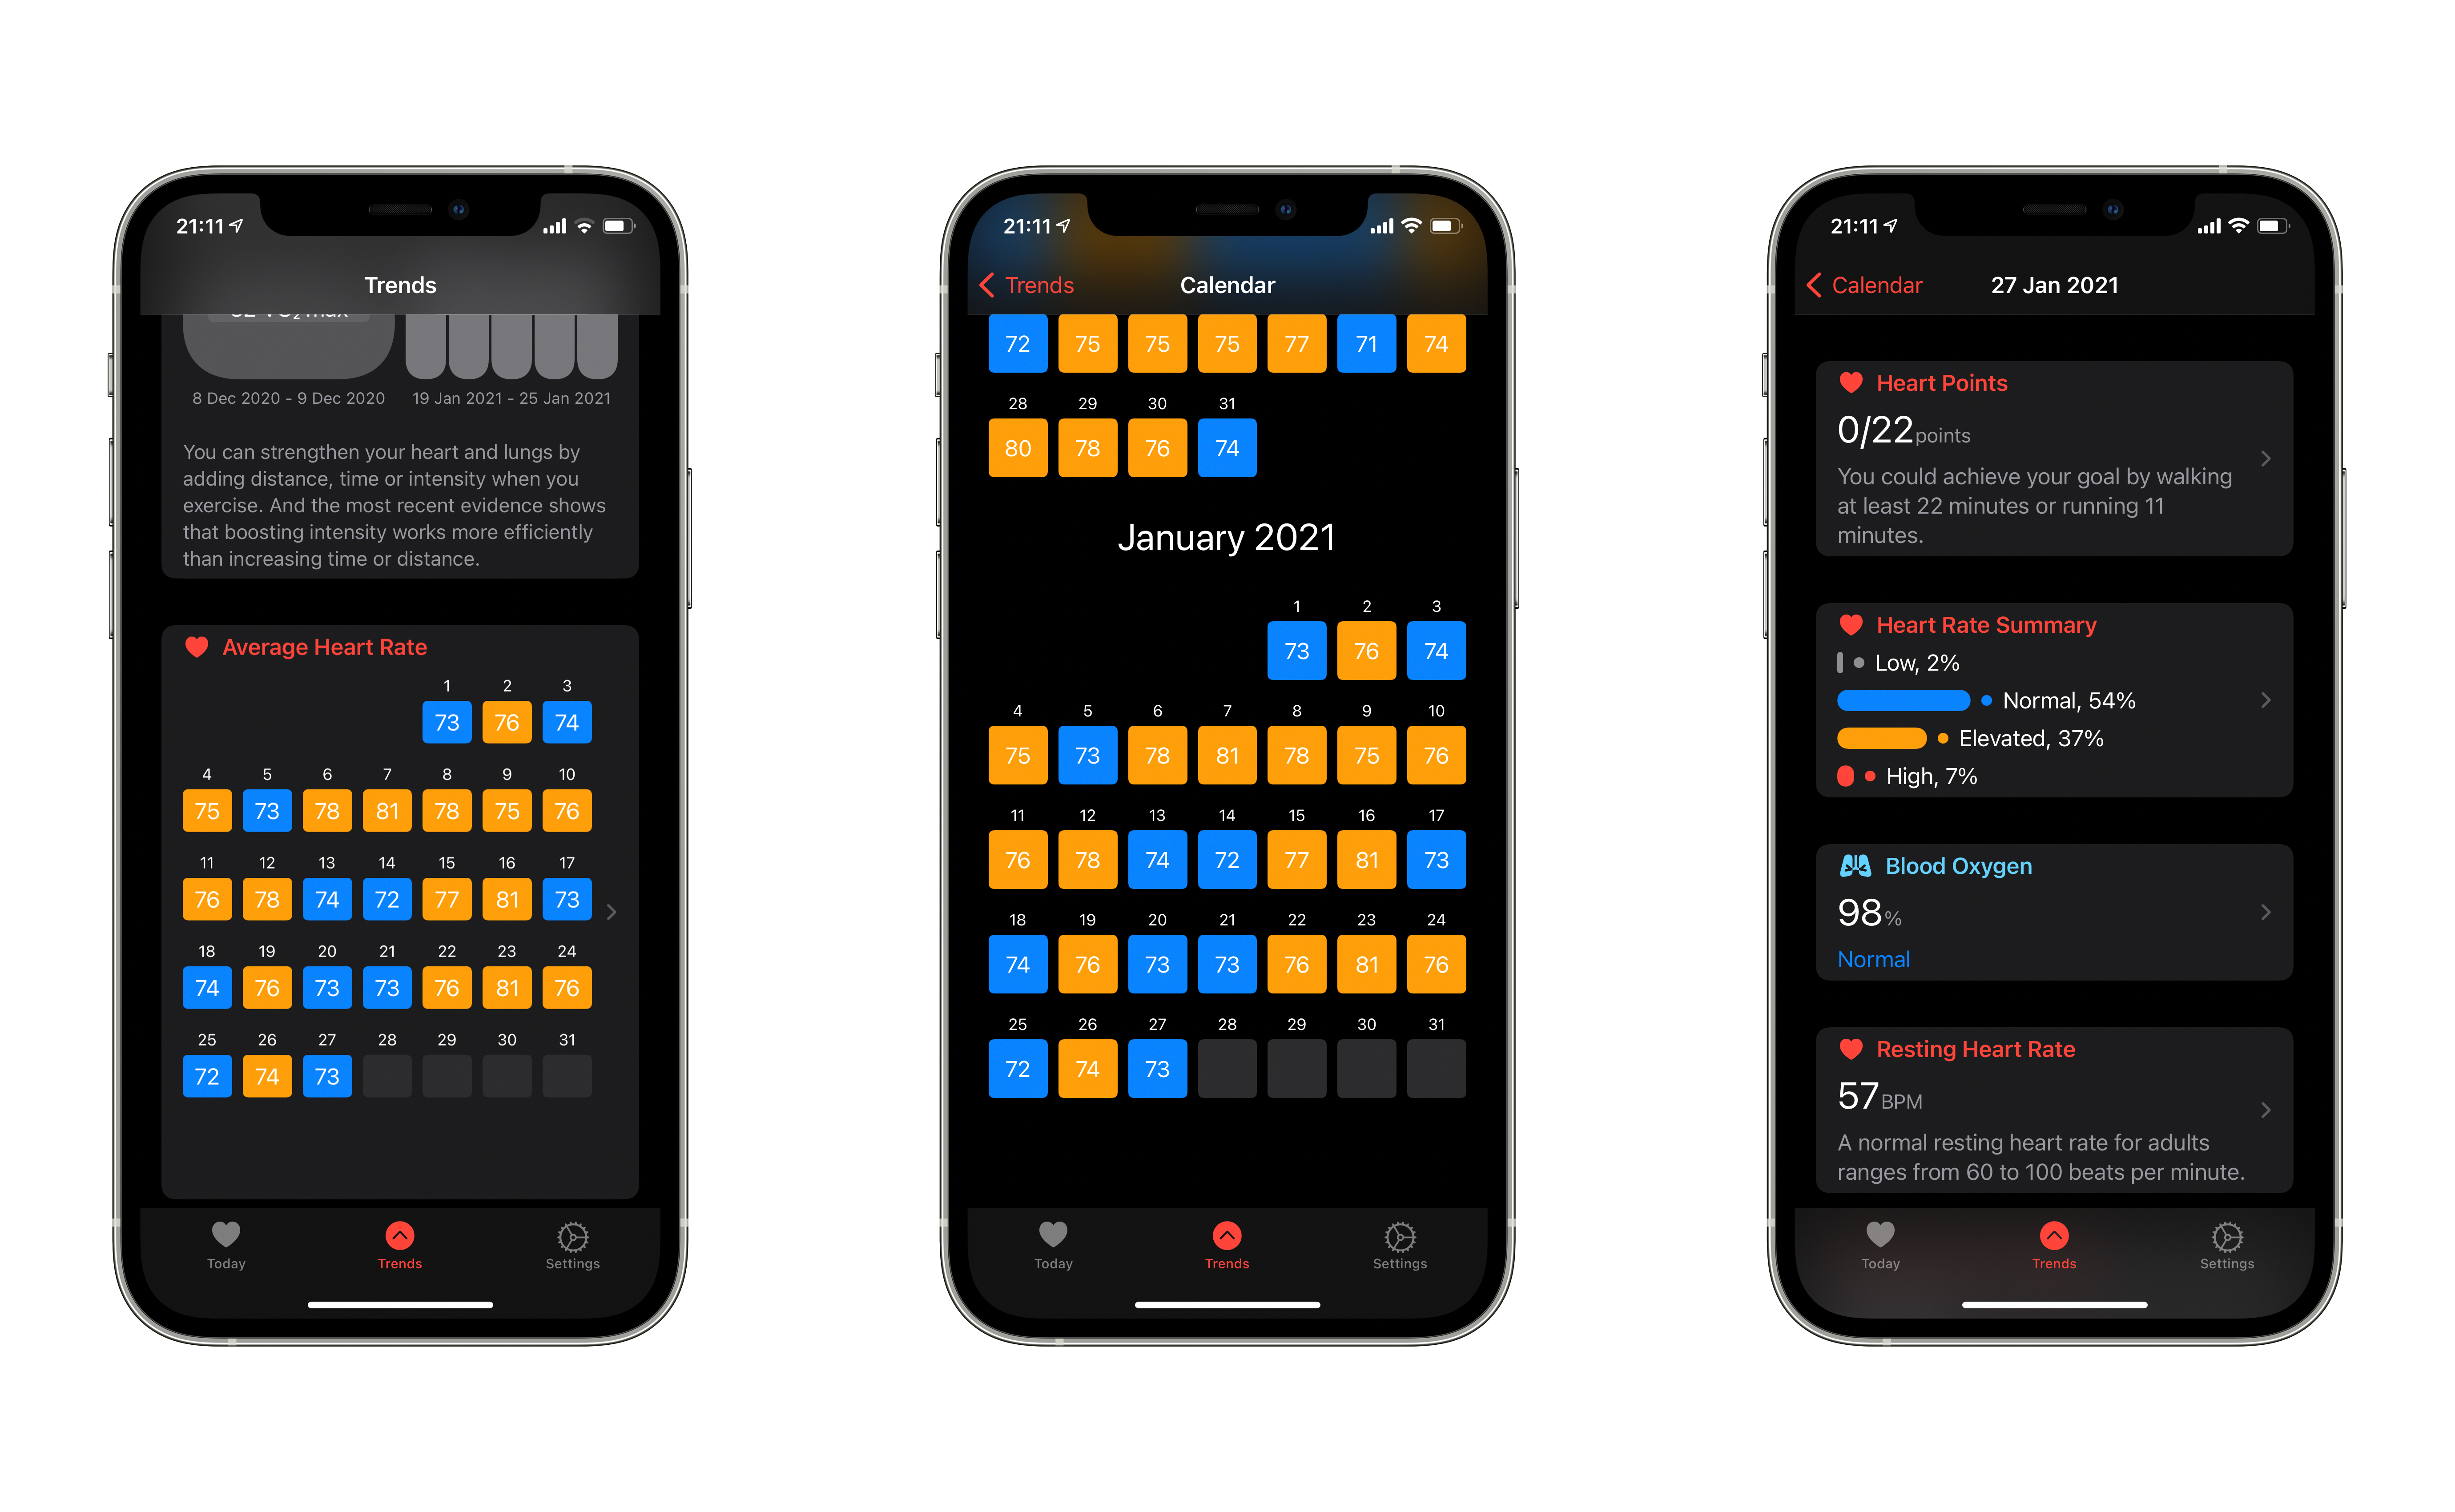
Usually, we have to set up navigation links by providing both source and destination views. In some cases, it might be a bottleneck for your view. I have a calendar screen in my app that displays the summary for every day during the last two years. Every date in the calendar is clickable and linked to the details screen using NavigationLink.
To learn more about the basics of NavigationLink, take a look at my “Navigation in SwiftUI” post.
OK, my calendar screen shows the information for every date during the last two years. It means I have to construct 730 NavigationLinks plus destination views for every date. This makes 1460 views. Assume that the state in this view changes and SwiftUI has to recalculate all these views. It is a lot of work to do.
In this case, I don’t want to create navigation links when the calendar view is loaded. I would like to have only one NavigationLink, which activates as soon as the user selects the calendar date. Let’s take a look at the API that I want to achieve.
import SwiftUI

struct CalendarContainerView: View {
    let interval: DateInterval

    @State private var selectedDate: Date?

    var body: some View {
        ScrollView(.vertical, showsIndicators: false) {
            CalendarView(interval: interval, onHeaderAppear: fetch) { date in
                DateView(date: date) {
                    // Some content here
                }
            }
        }
        .navigationBarTitle("calendar", displayMode: .inline)
        .navigate(using: $selectedDate, destination: makeDestination)
    }
}
As you can see in the example above, we have the navigate view modifier that accepts binding and the closure to build the destination view. First, we need to bind over the optional value to activate NavigationLink only when a value is available. Next, we should define a closure accepting a value and annotate it with @ViewBuilder. Let’s start by creating a NavigationLink extension to add a new initializer that supports our flow.
import SwiftUI

extension NavigationLink where Label == EmptyView {
    init?<Value>(
        _ binding: Binding<Value?>,
        @ViewBuilder destination: (Value) -> Destination
    ) {
        guard let value = binding.wrappedValue else {
            return nil
        }

        let isActive = Binding(
            get: { true },
            set: { newValue in if !newValue { binding.wrappedValue = nil } }
        )

        self.init(destination: destination(value), isActive: isActive, label: EmptyView.init)
    }
}
To learn more about benefits of @ViewBuilder, take a look at “The power of @ViewBuilder in SwiftUI” post.
We create the failable initializer for NavigationLink, where Label is EmptyView. It means we will hide NavigationLink from the screen, but it still will be there, and we can activate it as soon as our binding provides a value. Now we can create an extension on the View protocol to use the new API nicely.
extension View {
    @ViewBuilder
    func navigate<Value, Destination: View>(
        using binding: Binding<Value?>,
        @ViewBuilder destination: (Value) -> Destination
    ) -> some View {
        background(NavigationLink(binding, destination: destination))
    }
}
Here we define an extension on the View protocol that allows us to bind a value to the destination view. As you remember, we use EmptyView as NavigationLink label, and it allows us to set the NavigationLink as the view background invisibly. Now let’s take a look at how we can use the new API in our apps.
import SwiftUI

struct CalendarContainerView: View {
    let interval: DateInterval

    @EnvironmentObject var store: Store<CalendarState, CalendarAction>
    @State private var selectedDate: Date?

    var body: some View {
        ScrollView(.vertical, showsIndicators: false) {
            CalendarView(interval: interval, onHeaderAppear: fetch) { date in
                Button(action: { self.selectedDate = date }) {
                    DateView(date: date) {
                        // Some content here
                    }
                }
            }
        }
        .navigationBarTitle("calendar", displayMode: .inline)
        .navigate(using: $selectedDate, destination: makeDestination)
    }

    @ViewBuilder
    private func makeDestination(for date: Date) -> some View {
        // create and configure destination view here
    }
}
As you can see, it decreases the number of views that SwiftUI should recalculate on state changes. The second benefit is the lazy nature that allows us to move decision flow to a later date. So you can dynamically decide which view should be the destination depending on the value you have in the binding.
I would like to see the approach we use in this post as a part of SwiftUI next year. I hope you enjoy the post. Feel free to follow me on Twitter and ask your questions related to this article. Thanks for reading, and see you next week!