Mastering List in SwiftUI
List is the crucial view for many apps. I can’t imagine an app that doesn’t use a list view anywhere in the view hierarchy. During WWDC21, list view became even more powerful and brought us all the needed features of UITableView. This week, we will learn how to use the list view in SwiftUI and master its features.
Compare designs, show rulers, add a grid, quick actions for recent builds. Create recordings with touches & audio, trim and export them into MP4 or GIF and share them anywhere using drag & drop. Add bezels to screenshots and videos. Try now
Basics
List view is straightforward but very powerful. You can use it similarly to other SwiftUI views. To create a list view in SwiftUI, you should initiate the List struct with a ViewBuilder closure that defines the content of the list.
To learn more about ViewBuilder, take a look at my dedicated “The power of @ViewBuilder in SwiftUI” post.
struct ContentView: View {
var body: some View {
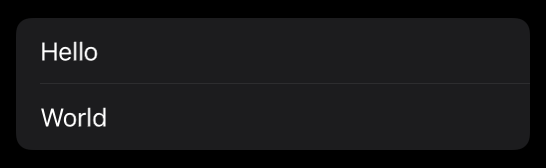
List {
Text("Hello")
Text("World")
}
}
}
Usually, we use the list view to display an array of similar items. To achieve this behavior with SwiftUI, we should use another version of List structs’s initializer to map every item in the collection to its view representation.
struct Message {
    let id = UUID()
    let content: String
}

struct ContentView: View {
    @State private var messages: [Message] = [
        Message(content: "Hello"),
        Message(content: "World")
    ]

    var body: some View {
        List(messages, id: \.id) { message in
            Text(message.content)
        }
    }
}
As you can see in the example above, we construct the list by providing a messages array and the keypath defining the message’s ID. SwiftUI uses the ID to differentiate the items and animate changes like insert, remove and reorder. Remember that you should provide a keypath to the stable ID property. For example, it might be a stored property from your database.
Sections
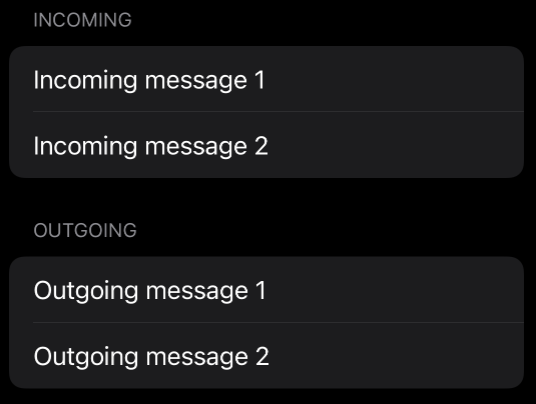
Sometimes we need to display the content of the list view in different sections. We can make it happen using the Section view in SwiftUI.
struct ContentView: View {
    @State private var incoming: [Message] = [
        Message(content: "Incoming message 1"),
        Message(content: "Incoming message 2")
    ]

    @State private var outgoing: [Message] = [
        Message(content: "Outgoing message 1"),
        Message(content: "Outgoing message 2")
    ]

    var body: some View {
        List {
            Section(header: Text("Incoming")) {
                ForEach(incoming, id: \.id) { message in
                    Text(message.content)
                }
            }

            Section(header: Text("Outgoing")) {
                ForEach(outgoing, id: \.id) { message in
                    Text(message.content)
                }
            }
        }
    }
}
As you can see here, we use the ForEach view to iterate over collections of items and map them to particular views. It also needs a keypath to the ID field to differentiate the items in the collection.
Recursive
I didn’t face this case too often, but we have to display recursive data structures like trees in our apps from time to time. You can easily do that with the list view in SwiftUI. There is a particular List struct initializer that accepts a keypath for the recursive field of your data structure. It will use the keypath to traverse and display your data recursively.
struct Tree<Value: Hashable>: Hashable {
    let value: Value
    var children: [Tree<Value>]? = nil
}

struct ContentView: View {
    @State private var tree: [Tree<Int>] = [
        .init(
            value: 1,
            children: [
                .init(value: 2),
                .init(
                    value: 3,
                    children: [
                        .init(value: 4),
                        .init(value: 5)
                    ]
                )
            ]
        )
    ]

    var body: some View {
        List(tree, id: \.value, children: \.children) { item in
            Text(String(item.value))
        }
    }
}
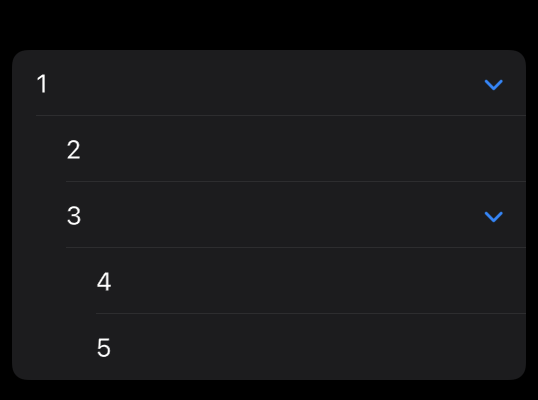
As you can see in the example above, we define the Tree struct with the children field, which is another array of trees. Then, we initiate the list view and provide a keypath to the recursive field.
To learn more about displaying recursive data, take a look at my “Displaying recursive data using OutlineGroup in SwiftUI” post.
Selection
List view provides you an opportunity to select items only in the edit mode. However, we usually want to mark several items to delete or move them together. Therefore, to enable the selection interface, we have to move the view to the edit mode and provide a selection binding to the list view.
struct ContentView: View {
    @State private var selection: Set<UUID> = []
    @State private var messages: [Message] = [
        Message(content: "Hello"),
        Message(content: "World")
    ]

    var body: some View {
        NavigationView {
            List(selection: $selection) {
                ForEach(messages, id: \.id) { message in
                    Text(message.content)
                }
            }
            .navigationTitle("List")
            .toolbar { EditButton() }
        }
    }
}
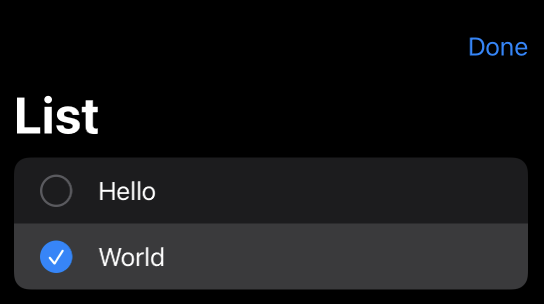
We add the edit button in the toolbar. Edit button toggles the edit mode for the current scope and enables the editing interface. You can allow both single and multi-selection modes. It depends on the type of selection binding you provide. SwiftUI enables multi selection mode when you give a binding to the Set, or it uses single selection binding when you pass the binding to the single ID item.
struct ContentView: View {
    @State private var selection: UUID?
    @State private var messages: [Message] = [
        Message(content: "Hello"),
        Message(content: "World")
    ]

    var body: some View {
        NavigationView {
            List(selection: $selection) {
                ForEach(messages, id: \.id) { message in
                    Text(message.content)
                }
            }
            .navigationTitle("List")
            .toolbar { EditButton() }
        }
    }
}
Here we provide a binding to the single item ID. That’s why SwiftUI enables the single selection mode on the list.
Swipe actions
We can enable leading and trailing swipe actions for the list items. We can quickly achieve that by using the new swipeActions view modifier.
struct ContentView: View {
    @State private var messages: [Message] = [
        Message(content: "Hello"),
        Message(content: "World")
    ]

    var body: some View {
        NavigationView {
            List {
                ForEach(messages, id: \.id) { message in
                    Text(message.content)
                        .swipeActions(edge: .trailing, allowsFullSwipe: true) {
                            Button("Delete", role: .destructive) {
                                messages.removeAll { $0.id == message.id }
                            }
                        }
                }
            }
            .navigationTitle("List")
        }
    }
}
In the example above, we add the opportunity to remove the items from the list using a trailing edge swipe. We can provide multiple actions on every edge. Here is another example with two swipeable actions on the leading edge with different button colors.
struct ContentView: View {
    @State private var messages: [Message] = [
        Message(content: "Hello"),
        Message(content: "World")
    ]

    var body: some View {
        NavigationView {
            List {
                ForEach(messages, id: \.id) { message in
                    Text(message.content)
                        .swipeActions(edge: .leading, allowsFullSwipe: false) {
                            Button("Favorite") {
                                // do some work here
                            }.tint(.yellow)

                            Button("Move") {
                                // do some work here
                            }.tint(.green)
                        }
                }
            }
            .navigationTitle("List")
        }
    }
}
Styling options
SwiftUI provides a few different styles for the list view. It includes plain, sidebar, inset, grouped, inset, and insetGrouped styles. By default, SwiftUI uses insetGrouped style, but you can change it to any style you need using the listStyle view modifier. Keep in mind that the listStyle view modifier uses the environment to propagate the selected style, and it will affect all the list views down in the view hierarchy.
To learn more about environment in SwiftUI, take a look at my “The power of Environment in SwiftUI” post.
struct ContentView: View {
    var body: some View {
        NavigationView {
            List {
                Section(header: Text("Section 1")) {
                    Text("Hello")
                }.headerProminence(.increased)

                Section(header: Text("Section 2")) {
                    Text("World")
                }
            }
            .listStyle(.insetGrouped)
            .navigationTitle("List")
        }
    }
}
In the example above, we apply insetGrouped style, also we use headerProminence modifier to increase the importance of the section which makes the header text bolder and bigger.
SwiftUI also provides us a set of view modifier which allows us to change the tint color of separators, list items or completely hide them from the list.
struct ContentView: View {
    var body: some View {
        NavigationView {
            List {
                Section(header: Text("Section 1")) {
                    Label("Hello", systemImage: "message")
                        .listItemTint(.red)
                }

                Section(header: Text("Section 2")) {
                    Text("World")
                        .listRowSeparatorTint(.red)
                }
            }
            .listStyle(.grouped)
            .listSectionSeparator(.hidden, edges: .all)
            .navigationTitle("List")
        }
    }
}
Conclusion
This week we learned how to use the most crucial SwiftUI view. So I’m happy to cover the list view in my blog finally. I hope you enjoy the post. Feel free to follow me on Twitter and ask your questions related to this post. Thanks for reading, and see you next week!