Pull-to-Refresh in SwiftUI
Pull-to-refresh is a widespread User Interface pattern that we use to request a data update in our apps. The SwiftUI Release 3 provides a brand new way to set up a pull-to-refresh action using the new refreshable view modifier. This week, we will learn how to use the refreshable view modifier and provide a super custom experience with it.
Compare designs, show rulers, add a grid, quick actions for recent builds. Create recordings with touches & audio, trim and export them into MP4 or GIF and share them anywhere using drag & drop. Add bezels to screenshots and videos. Try now
Basics
Let’s start with a simple example where you have a List displaying items from the view model. It should also provide a pull-to-refresh gesture to update the list of items.
struct ContentView: View {
    @StateObject private var viewModel = SearchViewModel()
    @State private var query = "Swift"

    var body: some View {
        NavigationView {
            List(viewModel.repos) { repo in
                Text(repo.name)
            }
            .navigationTitle("Search")
            .refreshable {
                await viewModel.search(matching: query)
            }
        }
    }
}
In the example above, we attach the refreshable view modifier to the List view, configuring the pull-to-refresh gesture. We pass an async closure that SwiftUI runs when a user enables the pull-to-refresh gesture. Keep in mind that the pull-to-refresh gesture is only available for the List view at the moment.
The refreshable view modifier uses the new Swift Concurrency feature and automatically disables the refreshing indicator when the async task finishes. Remember that the only way to control the refreshing indicator is async/await. You can’t show/hide it manually at the moment.
To learn more about the new Swift Concurrency feature, look at the Concurrency chapter of Swift book.
Custom refreshable views
SwiftUI uses pull-to-refresh in List views out of the box. You don’t need to do additional work like creating and adding spinner to the view hierarchy. But sometimes, you might need to build ultimately custom refresh experience.
struct ContentView: View {
    @StateObject private var viewModel = SearchViewModel()
    @State private var query = "Swift"

    var body: some View {
        NavigationView {
            SearchView(viewModel: viewModel)
                .refreshable {
                    await viewModel.search(matching: query)
                }
        }
    }
}
Assume that you are working on a custom reusable view that represents the list of items. You might want to show a refresh button in the toolbar whenever the refreshable view modifier is attached to the view. Fortunately, when you attach the refreshable view modifier, SwiftUI propagates it down to the view hierarchy by using the environment.
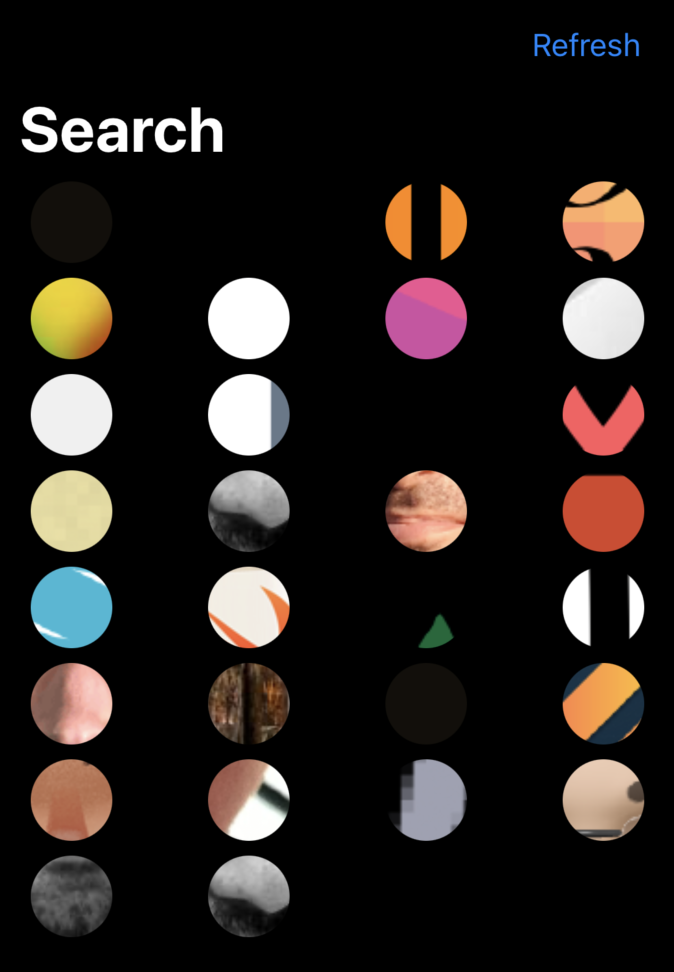
struct SearchView: View {
    @ObservedObject var viewModel: SearchViewModel
    @Environment(\.refresh) private var refreshAction
    @State private var isRefreshing = false

    var body: some View {
        LazyVGrid(columns: Array(repeating: .init(), count: 4)) {
            ForEach(viewModel.repos) { repo in
                AsyncImage(url: repo.owner.avatar)
                    .frame(width: 44, height: 44)
                    .clipShape(Circle())
            }
        }.toolbar {
            if let refreshAction = refreshAction {
                Button("Refresh") {
                    async {
                        isRefreshing = true
                        await refreshAction()
                        isRefreshing = false
                    }
                }
                .disabled(isRefreshing)
                .opacity(isRefreshing ? 0 : 1)
                .overlay {
                    if isRefreshing {
                        ProgressView()
                    }
                }
            }
        }
    }
}
As you can see in the example above, we have a view representing a grid of items. SwiftUI grids don’t provide a pull-to-refresh behavior. That’s why I decide to show a refresh button in the toolbar.
We use the Environment property wrapper to access the optional refresh action of the view. SwiftUI sets the refresh action in the environment when you attach the refreshable view modifier. Otherwise, it is nil.
To learn more about environment in SwiftUI, take a look at my “The power of Environment in SwiftUI” post.
We use a closure that we provide to the refreshable view modifier as an action closure for the refresh button. I also track the refreshing internal state of the view to disable the button during the refresh and display the progress indicator.
Conclusion
Today we learned about another SwiftUI feature available in Release 3. I love how SwiftUI is consistent in providing functionality out of the box and allowing us to customize the behavior using the environment. I hope you enjoy the post. Feel free to follow me on Twitter and ask your questions related to this post. Thanks for reading, and see you next week!