Confirmation dialogs in SwiftUI
SwiftUI Release 3 brings a few generic view modifiers that allow us to handle semantically similar operations for different views in the very same way. One of these view modifiers is onSubmit, which we can use to manage both forms and search fields. This week we will talk about another view modifier that SwiftUI provides us to display confirmation dialogs.
Compare designs, show rulers, add a grid, quick actions for recent builds. Create recordings with touches & audio, trim and export them into MP4 or GIF and share them anywhere using drag & drop. Add bezels to screenshots and videos. Try now
Confirmation dialog is a widespread UI/UX pattern that we usually use to confirm some dangerous actions in our apps. For example, we might present a confirmation dialog before deleting any sensitive data from the app.
struct ContentView: View {
    @StateObject var viewModel = ViewModel()

    var body: some View {
        NavigationView {
            List {
                ForEach(viewModel.messages, id: \.self) { message in
                    Text(message)
                        .swipeActions {
                            Button(
                                role: .destructive,
                                action: {
                                    withAnimation {
                                        viewModel.delete(message)
                                    }
                                }
                            ) {
                                Image(systemName: "trash")
                            }
                        }
                }
            }
            .navigationTitle("Messages")
            .onAppear { viewModel.fetch() }
        }
    }
}
As you can see in the example above, we have a screen showing a list of messages from the view model. We use swipe actions to provide actions related to a list item. In our case, we display a destructive button that deletes the message as soon as you hit it. Let’s take a look at how we can show confirmation dialog using the new confirmationDialog view modifier.
struct ContentView: View {
    @StateObject var viewModel = ViewModel()
    @State private var confirmationShown = false

    var body: some View {
        NavigationView {
            List {
                ForEach(viewModel.messages, id: \.self) { message in
                    Text(message)
                        .swipeActions {
                            Button(
                                role: .destructive,
                                action: { confirmationShown = true }
                            ) {
                                Image(systemName: "trash")
                            }
                        }
                        .confirmationDialog(
                            "Are you sure?",
                             isPresented: $confirmationShown
                        ) {
                            Button("Yes") {
                                withAnimation {
                                    viewModel.delete(message)
                                }
                            }
                        }
                }
            }
            .navigationTitle("Messages")
            .onAppear { viewModel.fetch() }
        }
    }
}

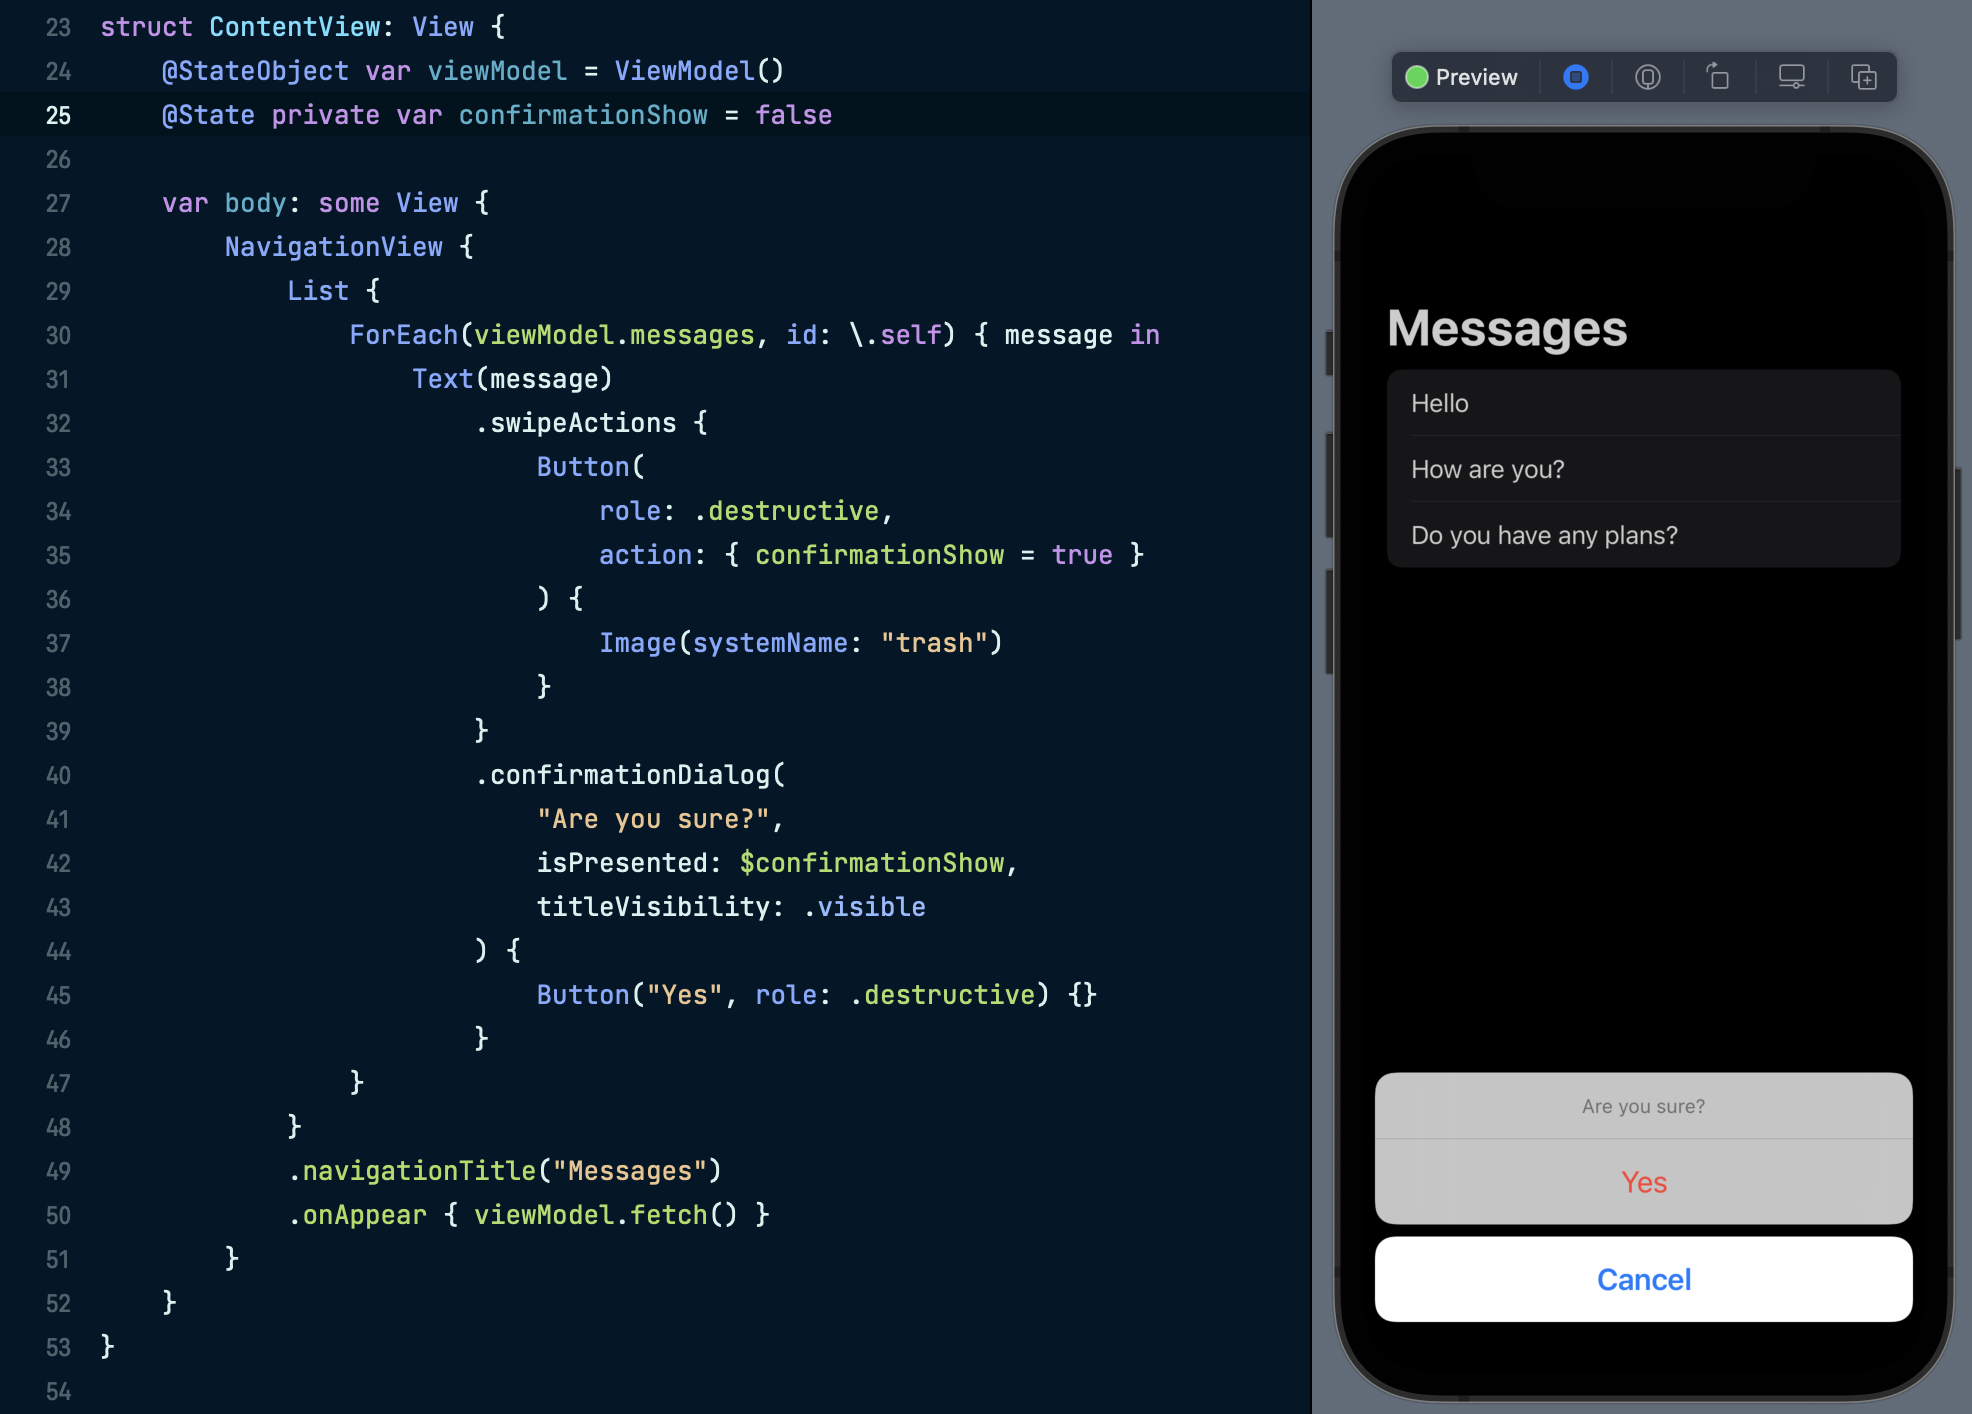
We attach the confirmationDialog view modifier to the Text view that we want to delete. It needs a few parameters to display a confirmation dialog.
- The first one is the title of the particular confirmation dialog. It can be a Text view or LocalizedStringKey.
- The second one is binding to a boolean value that indicates whenever to present the confirmation dialog.
- The third one is the @ViewBuilder closure that we can use to provide available actions using button views. Keep in mind that we can use buttons with text only.
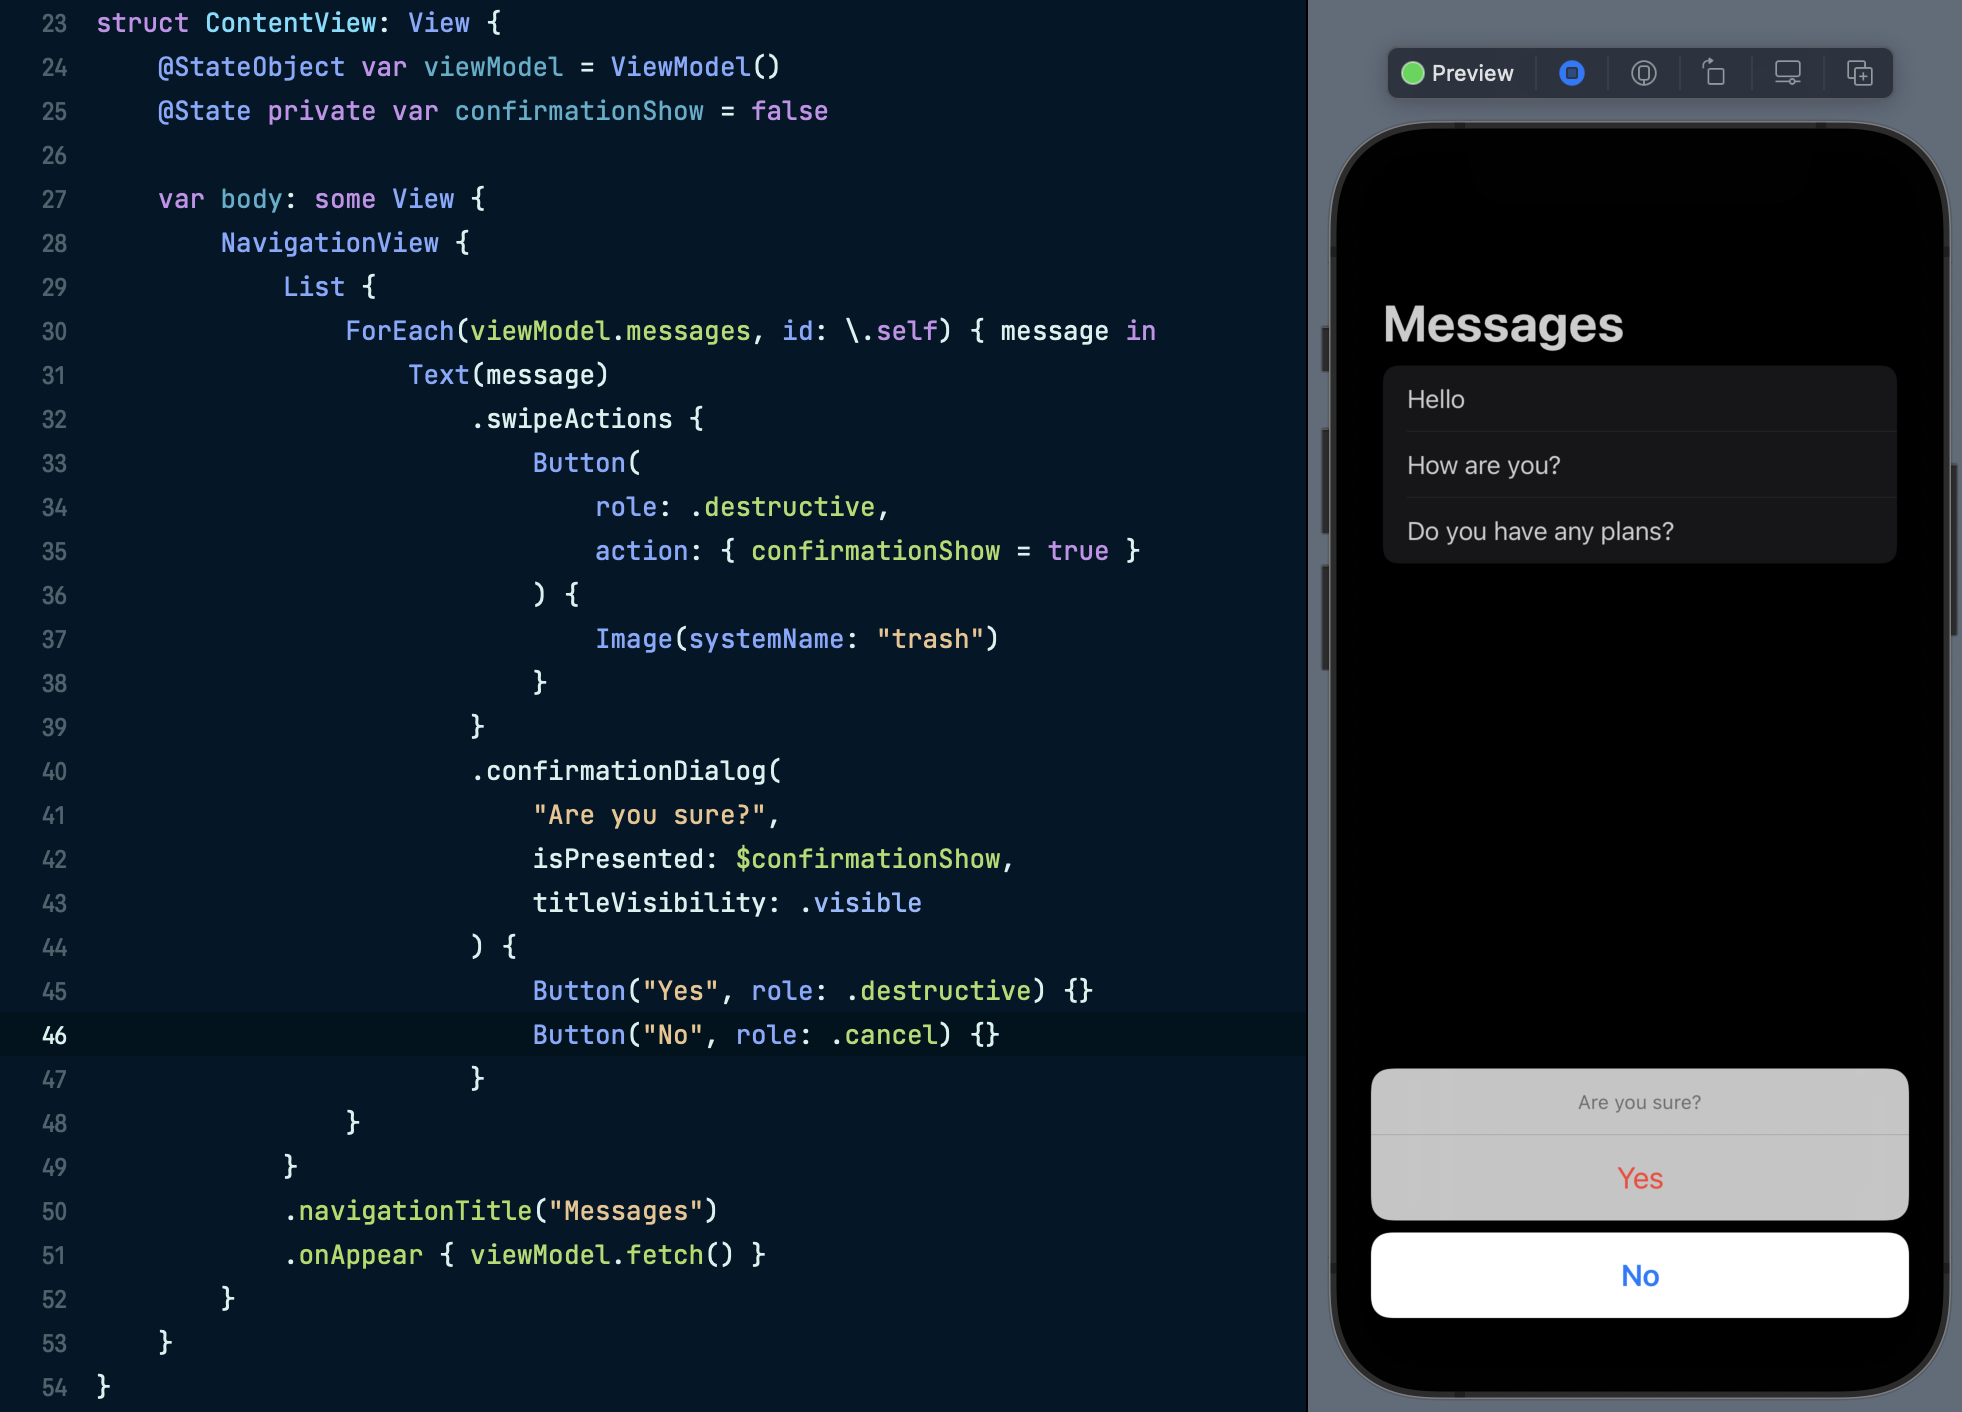
You don’t need to provide a cancel button. SwiftUI does it automatically for any confirmation dialog. But you can still offer a button with the cancelation role to replace the default cancel button.
.confirmationDialog("Are you sure?", isPresented: $confirmationShown) {
    Button("Yes") {
        withAnimation {
            viewModel.delete(message)
        }
    }

    Button("No", role: .cancel) {}
}

Remember that you don’t need to change the value of binding to false to dismiss a confirmation dialog. SwiftUI dismisses the confirmation dialog as soon as the user hits any of the provided actions.
I should mention that the system can reorder the buttons based on their roles and prominence. SwiftUI uses the higher prominence for the default action. You can make any of the provided actions default using the keyboardShortcut view modifier.
.confirmationDialog("Are you sure?", isPresented: $confirmationShown) {
    Button("Yes") {
        withAnimation {
            viewModel.delete(message)
        }
    }.keyboardShortcut(.defaultAction)

    Button("No", role: .cancel) {}
}
SwiftUI handles different environments gracefully and displays confirmation dialog as a popover when runs in regular size classes and as an action sheet in compact size classes.
To learn more about popovers and action sheets in SwiftUI, take a look at my “Alerts, Action Sheets, Modals and Popovers in SwiftUI” post.
The confirmationDialog view modifier also provides us a way to control the title visibility of the presented dialog. The titleVisibility parameter accepts an instance of Visibility enum with one of the following values: automatic, visible, and hidden.
.confirmationDialog(
    "Are you sure?",
    isPresented: $confirmationShown,
    titleVisibility: .visible
) {
    Button("Yes") {
        withAnimation {
            viewModel.delete(message)
        }
    }.keyboardShortcut(.defaultAction)

    Button("No", role: .cancel) {}
}
We can also provide an additional message under the title using a message parameter that accepts another @ViewBuilder closure to build a view displaying a custom message.
.confirmationDialog(
    "Are you sure?",
    isPresented: $confirmationShown,
    titleVisibility: .visible
) {
    Button("Yes") {
        withAnimation {
            viewModel.delete(message)
        }
    }.keyboardShortcut(.defaultAction)

    Button("No", role: .cancel) {}
} message: {
    Text("This action cannot be undone")
}
The confrimationDialog view modifier allows us to provide optional data to pass into @ViewBuilder closures both for message and actions.
.confirmationDialog(
    "Are you sure?",
    isPresented: $confirmationShown,
    titleVisibility: .visible,
    presenting: message
) { message in
    Button("Yes, delete: \(message)") {
        withAnimation {
            viewModel.delete(message)
        }
    }.keyboardShortcut(.defaultAction)

    Button("No", role: .cancel) {}
} message: { message in
    Text(message)
}
To learn more about the benefits of ViewBuilder closures in SwiftUI, take a look at my “The power of @ViewBuilder in SwiftUI” post.
I love the new confirmationDialog view modifier and the level of flexibility it provides to customize the user experience in our apps. I hope you enjoy the post. Feel free to follow me on Twitter and ask your questions related to this post. Thanks for reading, and see you next week!