Managing safe area in SwiftUI
A safe area defines the area within a view that isn’t covered by a navigation bar, tab bar, toolbar, or other views. SwiftUI views respect safe areas out of the box. But there are plenty of situations when you need to customize this behavior. This week we will learn how to manage the safe area in SwiftUI.
Basics
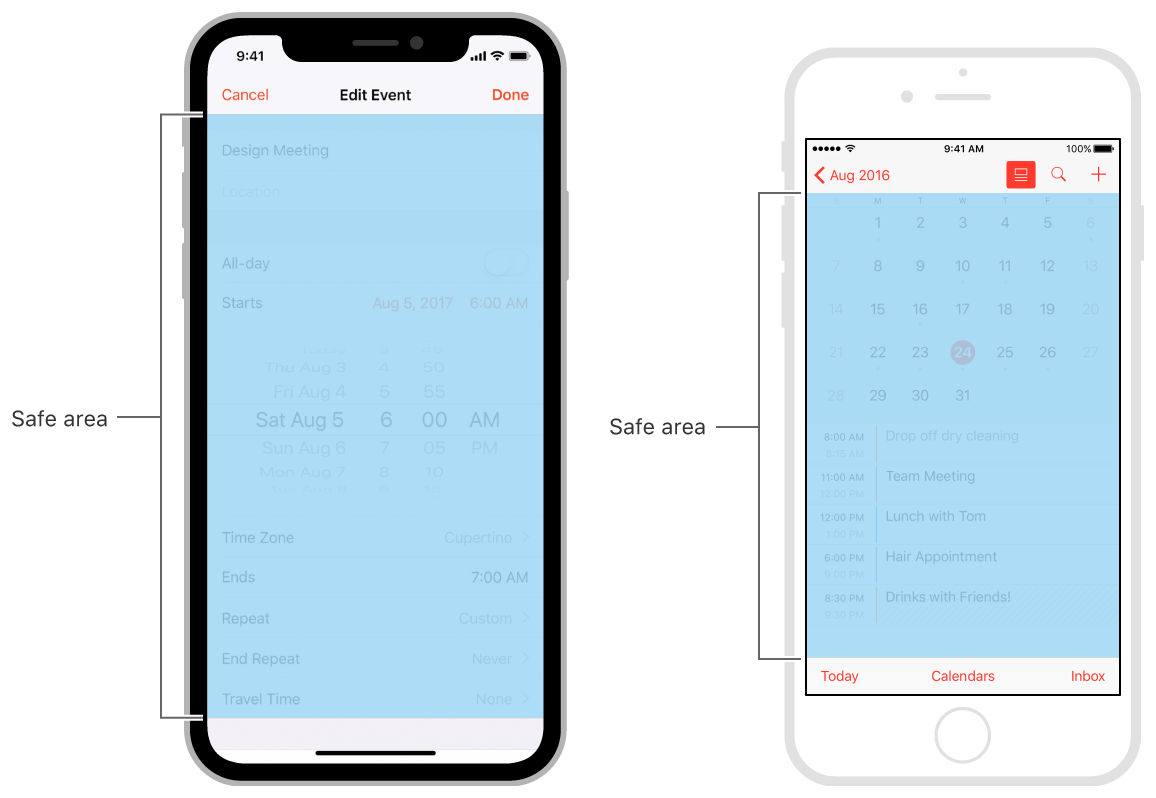
Safe areas help us to keep our views inside the visible parts of the screen. For example, we can easily place our views between the navigation bar and home indicator using a safe area.
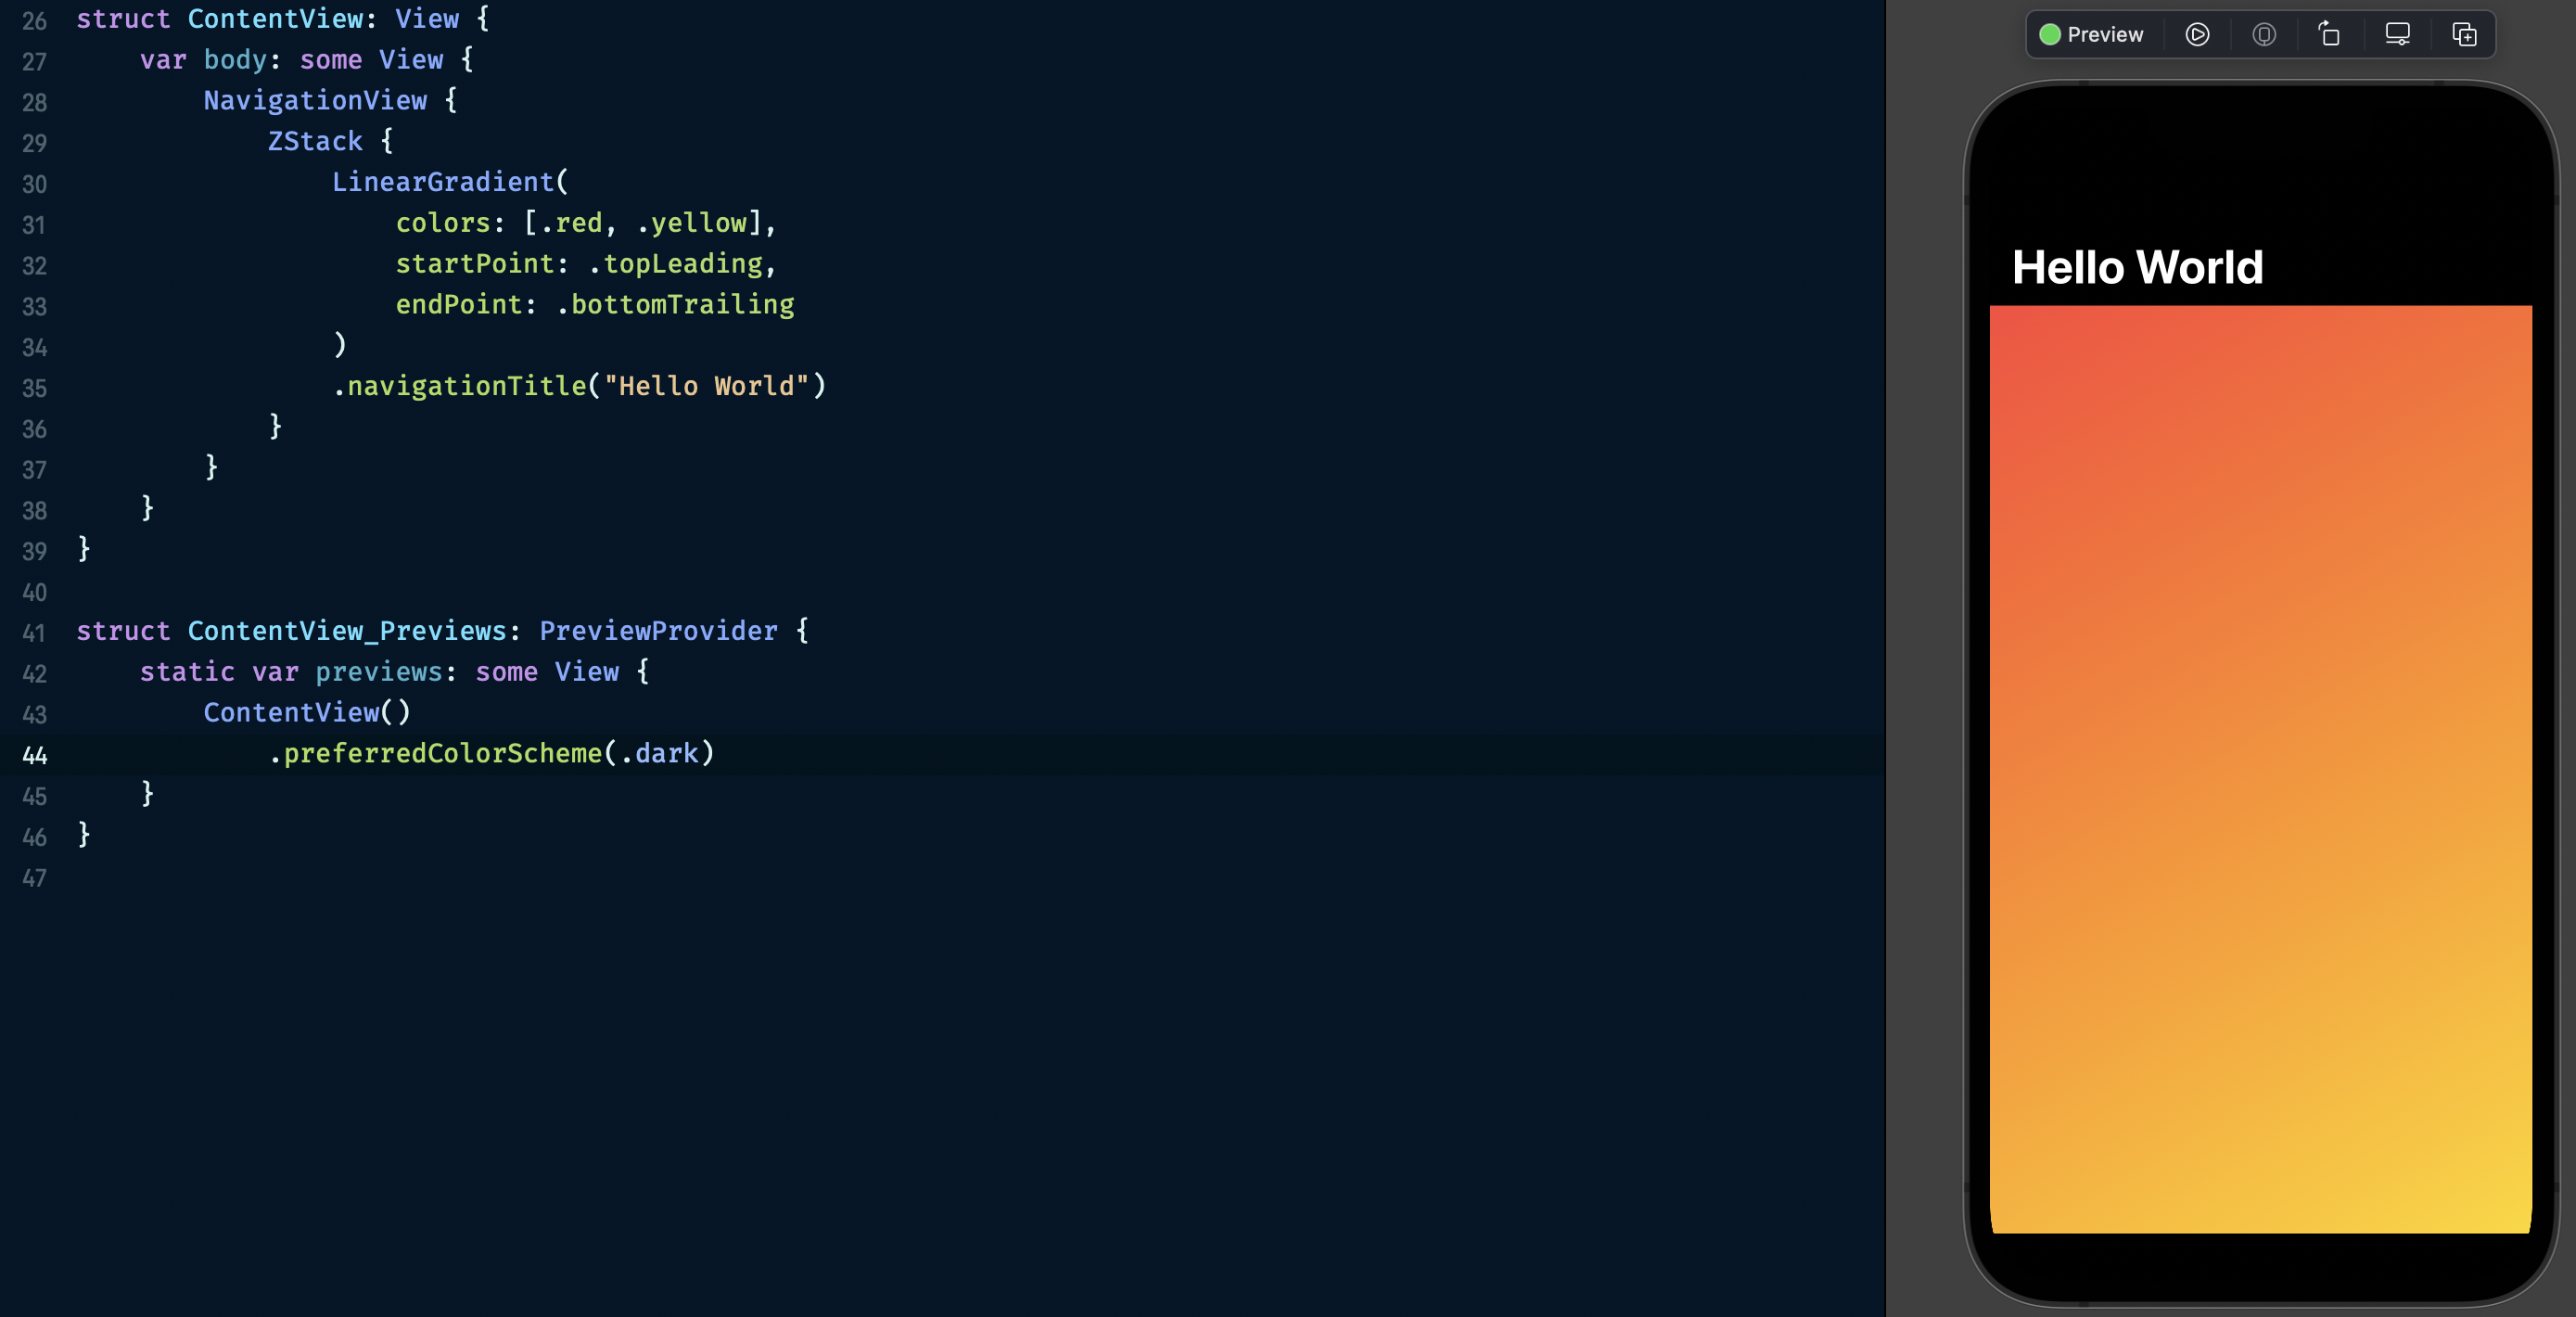
By default, SwiftUI place views only inside the safe area. Here is the example showing that.
struct ContentView: View {
    var body: some View {
        NavigationView {
            ZStack {
                LinearGradient(
                    colors: [.red, .yellow],
                    startPoint: .topLeading,
                    endPoint: .bottomTrailing
                )
                .navigationTitle("Hello World")
            }
        }
    }
}
But we can change this behavior using the ignoresSafeArea view modifier.
struct ContentView: View {
    var body: some View {
        NavigationView {
            ZStack {
                LinearGradient(
                    colors: [.red, .yellow],
                    startPoint: .topLeading,
                    endPoint: .bottomTrailing
                )
                .ignoresSafeArea()
                .navigationTitle("Hello World")
            }
        }
    }
}
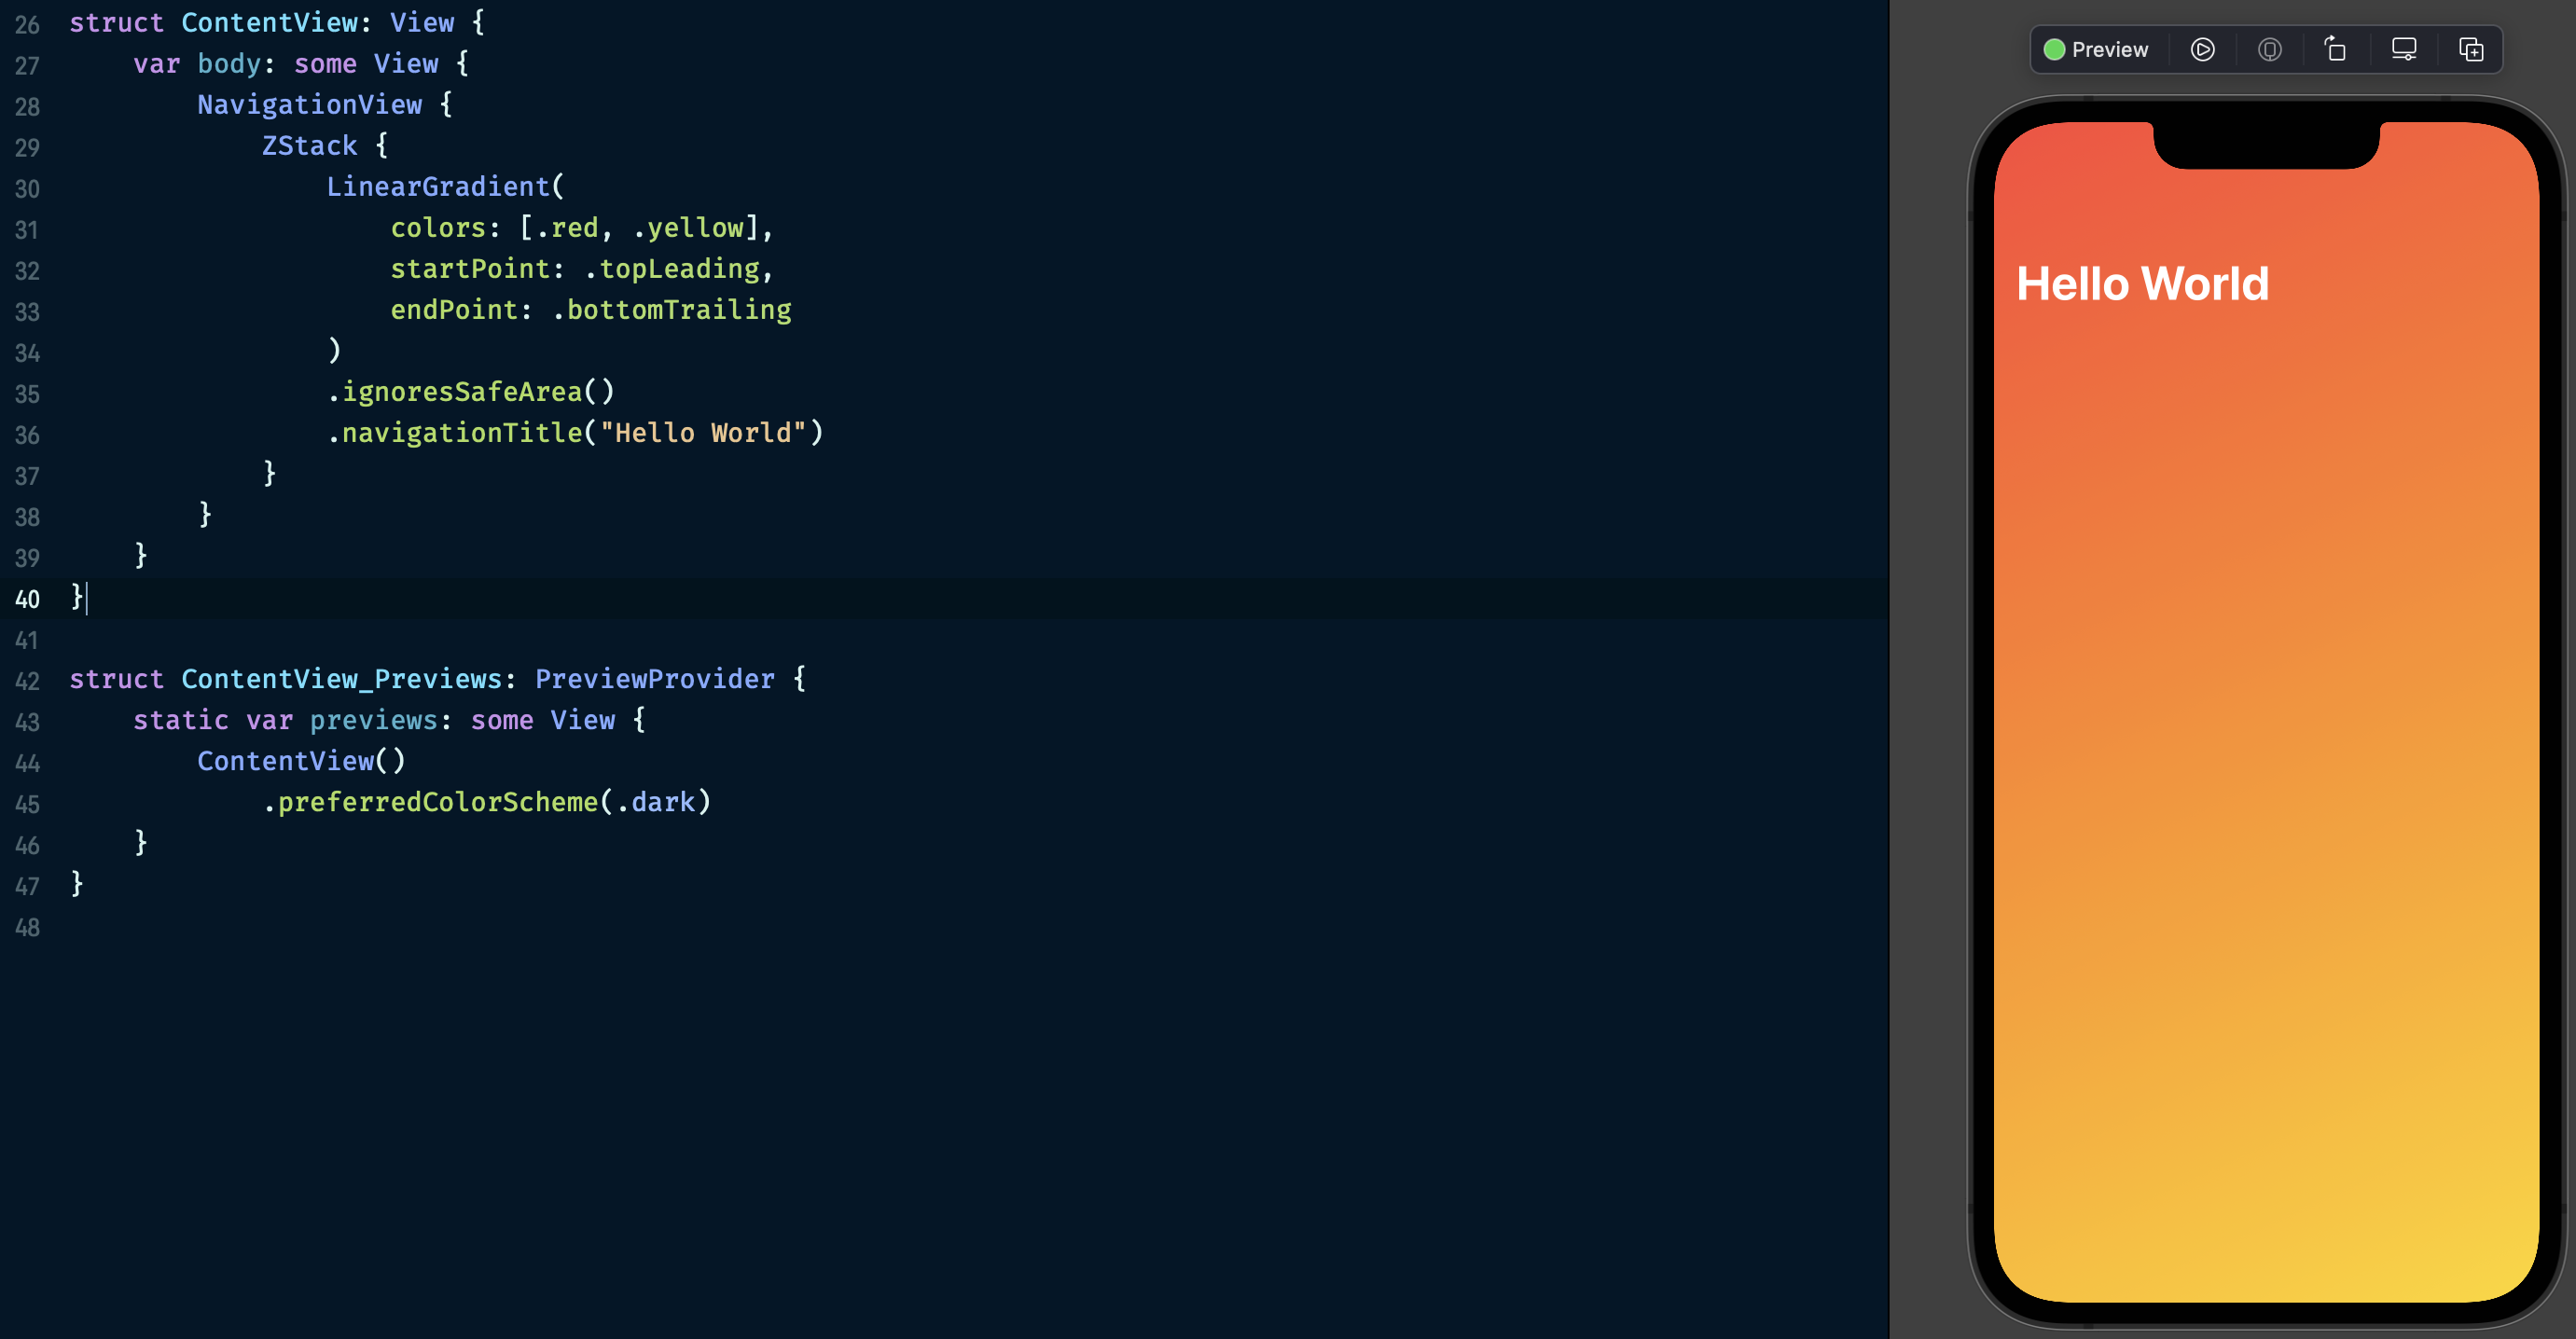
The ignoresSafeArea view modifier expands the view and fills the space by ignoring the safe area. The ignoresSafeArea view modifier has two parameters that allow us to set the direction and the region of the ignored safe area.
struct ContentView: View {
    var body: some View {
        NavigationView {
            ZStack {
                LinearGradient(
                    colors: [.red, .yellow],
                    startPoint: .topLeading,
                    endPoint: .bottomTrailing
                )
                .ignoresSafeArea(.keyboard, edges: .bottom)
                .ignoresSafeArea(.container, edges: [.top, .horizontal])
                .navigationTitle("Hello World")
            }
        }
    }
}
Let’s take a deep look at the possible parameters of the ignoresSafeArea view modifier.
- The regions parameter allows us to set the ignored safe area type. For example, it might be a parent container, keyboard, or all of them.
- The edges parameter allows us to ignore the safe area in the following direction or set of directions. For example, it could be top, leading, bottom, trailing, horizontal, vertical, all, or any combination of previous options.
safeAreaPadding view modifier
SwiftUI introduces the safeAreaPadding allowing us to shift the safe area for particular amount of space on the specified edge.
struct ContentView: View {
    var body: some View {
        NavigationView {
            LinearGradient(
                colors: [.red, .yellow],
                startPoint: .topLeading,
                endPoint: .bottomTrailing
            )
            .safeAreaPadding(.horizontal, 100)
            .navigationTitle("Hello World")
        }
    }
}
safeAreaInset view modifier
The safeAreaInset view modifier is another way to manage the safe area of the view. The safeAreaInset view modifier allows you to shift the safe area of the view by placing another view inside the original safe area of the view.
struct ContentView: View {
    var body: some View {
        NavigationView {
            LinearGradient(
                colors: [.red, .yellow],
                startPoint: .topLeading,
                endPoint: .bottomTrailing
            )
            .ignoresSafeArea()
            .navigationTitle("Hello World")
            .safeAreaInset(edge: .bottom, alignment: .center, spacing: 0) {
                Color.clear
                    .frame(height: 20)
                    .background(Material.bar)
            }
        }
    }
}
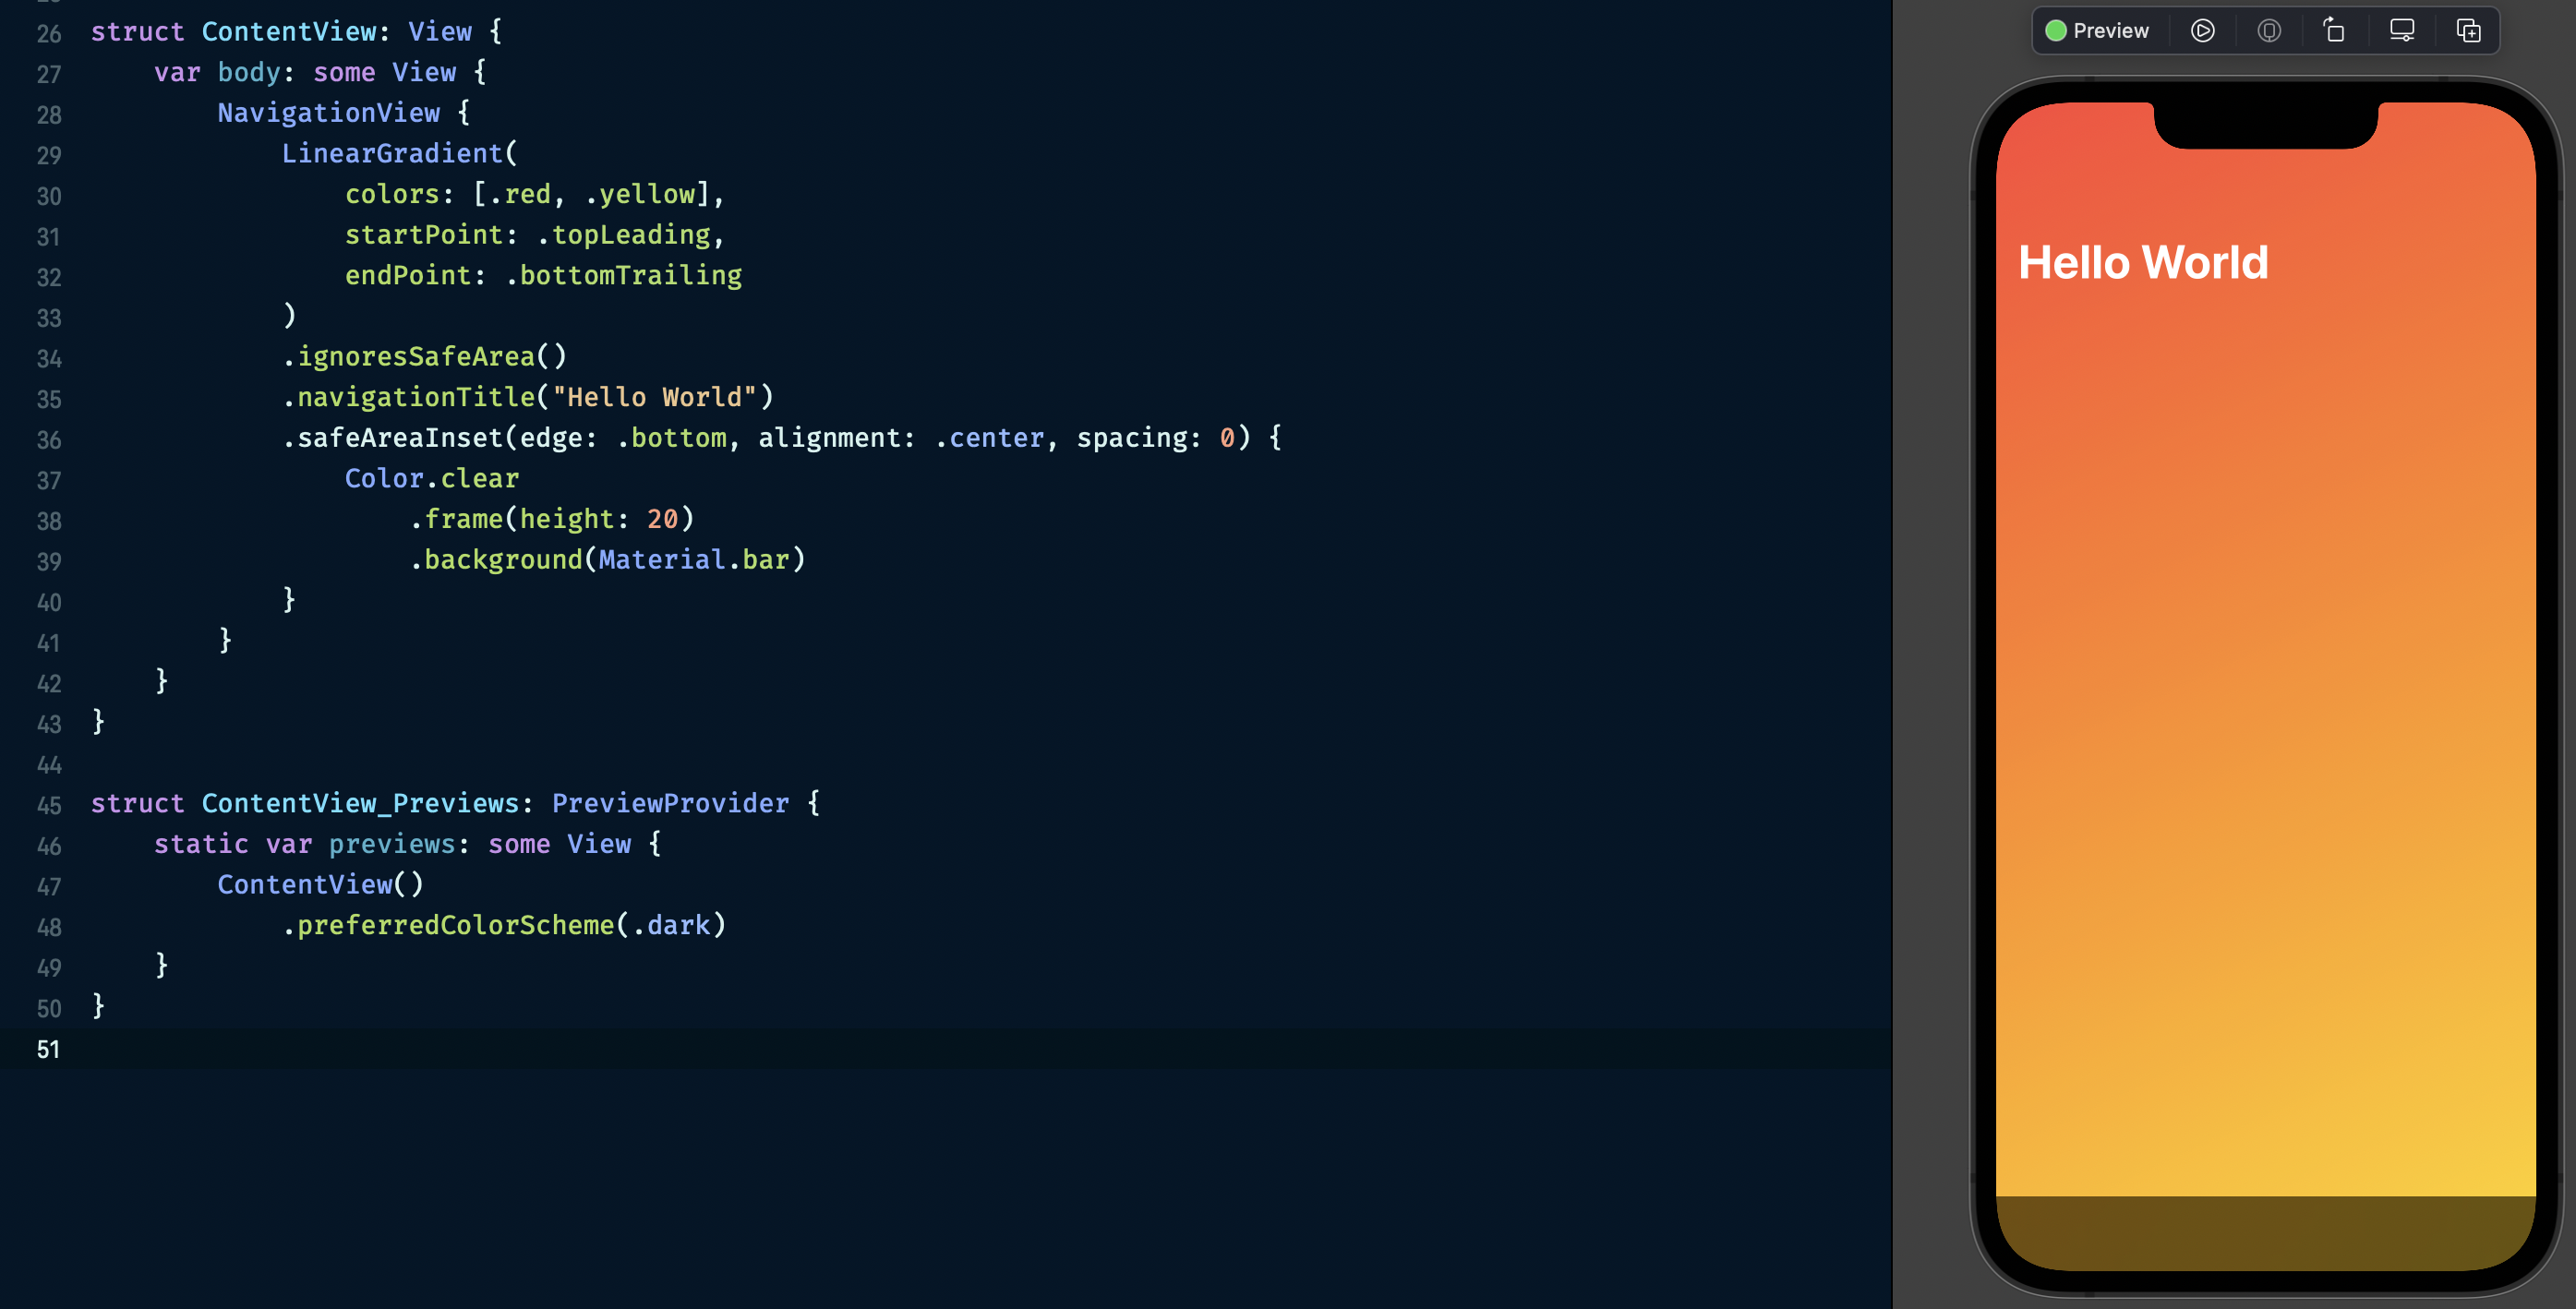
As you can see in the example above, the safeAreaInset view modifier has a bunch of parameters that allow us to control the spacing, alignment, and edge of the shifted safe area. It also uses the @ViewBuilder closure to build the content of view that SwiftUI places in the space of the shifted safe area.
- edge parameter allows you to set the vertical or horizontal edge of the shifted safe area region.
- spacing parameter allows you to put some space between the shifted safe area and the view itself.
- alignment parameter applies the horizontal or vertical alignment.
- content is the @ViewBuilder closure that defines the content of the shifted safe area.
Similar to the safeAreaInset view modifier, we have safeAreaBar view modifier which has the same signature and works almost the same way but also adds edge effect of the scrolling view.
To learn more about materials in SwiftUI, take a look at my dedicated “Blur effect and materials in SwiftUI” post.
Conclusion
Today we learned how to manage the safe area in SwiftUI. Usually, we don’t need it because SwiftUI handles it automatically. But feel free to customize the look and feel of your content with an immersive experience using safe area view modifiers. I hope you enjoy the post. Feel free to follow me on Twitter and ask your questions related to this post. Thanks for reading, and see you next week!