Mastering Canvas in SwiftUI
You can draw 2D graphics in SwiftUI using Shape API, but in the end, the framework converts all the shapes into SwiftUI views and render them. This approach has its pros and cons. Fortunately, we can draw rich 2D graphics without combining multiple shapes. This week we will learn how to use Canvas view in SwiftUI.
Basics
Canvas view supports immediate mode drawing without using Shape API. We can use it to draw anything we want in a procedural way, line by line. Let’s take a look at a small example.
struct ContentView: View {
    var body: some View {
        Canvas(
            opaque: true,
            colorMode: .linear,
            rendersAsynchronously: false
        ) { context, size in
            let rect = CGRect(origin: .zero, size: size)


            var path = Circle().path(in: rect)
            context.fill(path, with: .color(.red))
        }
    }
}
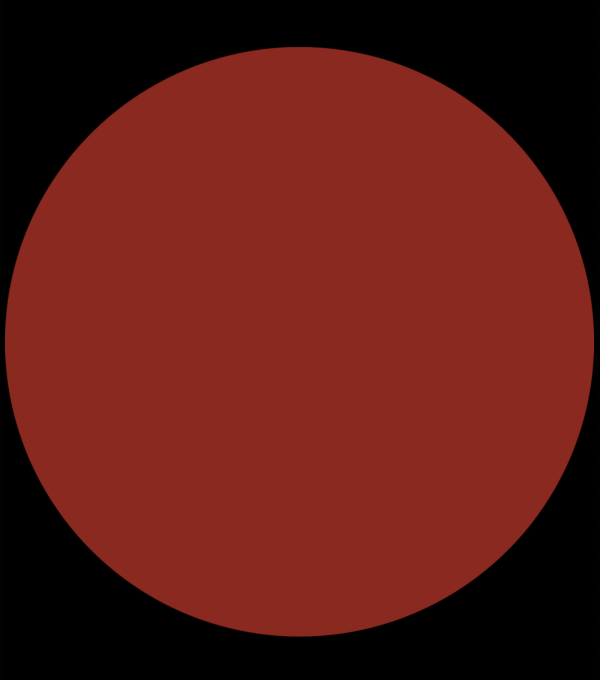
As you can see in the example above, we create a Canvas view as the root view of our ContentView. It accepts a few parameters allowing us to configure the canvas with opaque, color mode, and asynchronous rendering options.
We should place all the drawing logic in the closure we pass to the Canvas view. This closure is called a renderer. A renderer closure provides us with an instance of GraphicalContext that we use to draw content and the size of the canvas.
The instance of the GraphicsContext type is the inout parameter of the renderer closure. It means we can mutate it in place while drawing our content.
struct ContentView: View {
    var body: some View {
        Canvas(
            opaque: true,
            colorMode: .linear,
            rendersAsynchronously: false
        ) { context, size in
            context.opacity = 0.3

            let rect = CGRect(origin: .zero, size: size)

            var path = Circle().path(in: rect)
            context.fill(path, with: .color(.red))

            let newRect = rect.applying(.init(scaleX: 0.5, y: 0.5))
            path = Circle().path(in: newRect)
            context.fill(path, with: .color(.red))
        }
    }
}
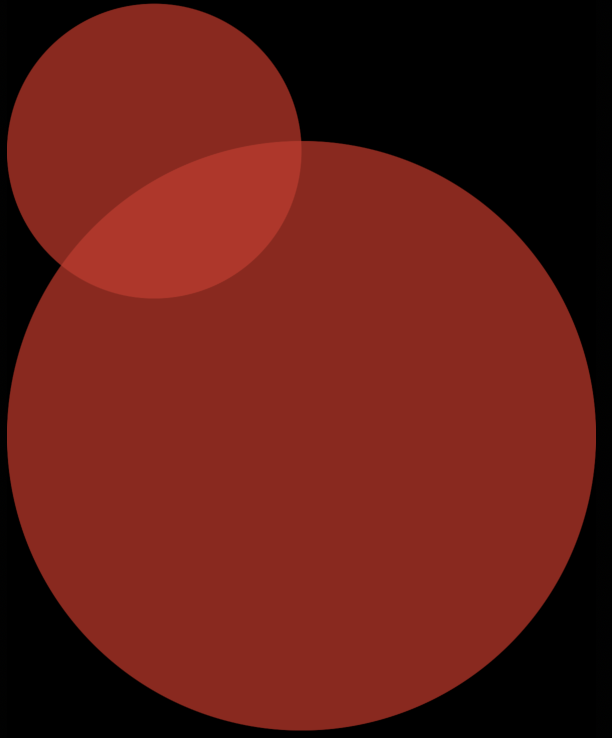
As you can see in the example above, we tune the opacity of the context, and it affects all the drawing logic appearing after that line. The GraphicsContext type allows us to adjust many drawing process parameters, like opacity, scaling, and blend mode. It also allows us to add different filters using the addFilter function.
The GraphicsContext type provides the stroke, fill, and clip functions, allowing us to draw any path we need. But it also provides the draw function allowing us to draw text and images.
struct ContentView: View {
    var body: some View {
        Canvas(
            opaque: true,
            colorMode: .linear,
            rendersAsynchronously: false
        ) { context, size in
            context.opacity = 0.3

            let text = Text(verbatim: "Hello").font(.largeTitle)
            var resolvedText = context.resolve(text)
            resolvedText.shading = .color(.red)
            context.draw(resolvedText, in: rect)
        }
    }
}
We can’t draw an instance of Text or Image type directly. Instead, we should convert them into the format the draw function accepts using the resolve function on the GraphicsContext type. The resolve function returns us an instance of the ResolvedText or ResolvedImage types that allows us to tune the shading of the resolved object.
You can use the Canvas type to draw not only text and images, but you can also draw any SwiftUI view. But before, we should register them by using symbols closure while creating a canvas. Every SwiftUI view in the symbols closure should have its unique tag allowing us to resolve the view by id later in the renderer closure.
struct ContentView: View {
    var body: some View {
        Canvas(
            opaque: true,
            colorMode: .linear,
            rendersAsynchronously: false
        ) { context, size in
            context.opacity = 0.3

            let rect = CGRect(origin: .zero, size: size)

            if let symbol = context.resolveSymbol(id: 1) {
                context.draw(symbol, in: rect)
            }
        } symbols: {
            Text(verbatim: "Hello")
                .foregroundColor(.red)
                .tag(1)
        }
    }
}
Animation
The Canvas view doesn’t support animations, but you can animate it by embedding it into the TimelineView with the animation scheduler.
struct ContentView: View {
    var body: some View {
        TimelineView(.animation) { timelineContext in
            let value = secondsValue(for: timelineContext.date)

            Canvas(
                opaque: true,
                colorMode: .linear,
                rendersAsynchronously: false
            ) { context, size in
                let newSize = size.applying(.init(scaleX: value, y: 1))
                let rect = CGRect(origin: .zero, size: newSize)

                context.fill(
                    Rectangle().path(in: rect),
                    with: .color(.red)
                )
            }
        }
    }

    private func secondsValue(for date: Date) -> Double {
        let seconds = Calendar.current.component(.second, from: date)
        return Double(seconds) / 60
    }
}
To learn more about the power of TimelineView, take a look at my “Mastering TimelineView in SwiftUI” post.
Accessibility
The Canvas view doesn’t have an accessibility tree because it is a simple 2D graphics engine. Instead, you can attach a set of accessibility view modifiers that SwiftUI provides us to make its content accessible to everyone.
Conclusion
Today we learned how to use the Canvas view to draw rich 2D graphics in SwiftUI without using Shape API. You should use the Canvas view whenever you need immediate mode drawing by skipping SwiftUI rendering. I hope you enjoy the post. Feel free to follow me on Twitter and ask your questions related to this post. Thanks for reading, and see you next week!